This tutorial will show you how to build an internet kiosk using a Raspberry Pi and FullPageOS. It can also be used as digital signage!
Internet kiosks are useful when you want to allow your customers or visitors to be able to use the internet – to browse a catalogue or access services – but want to limit them to the web browser only, and make sure that they can only use the websites you deem necessary (or appropriate).
FullPageOS provides this functionality for free – all you need to do is install it on a Raspberry Pi and you have a ready-to-go internet kiosk.
Raspberry Pi Hardware Setup
Here’s what you’ll need to make your internet kiosk:
- A Raspberry Pi
- Keyboard, mouse, and monitor
- A computer with an SD card slot for installing FullPageOS to the Raspberry Pi SD card
- A network connection (obviously, to browse the internet)
Installing and Configuring Internet Kiosk Software
To get the software side of things up and running, first install FullPageOS on your Raspberry Pi’s SD card using the Raspberry Pi Imager.
First download the Raspberry Pi Imager here, install it, and run it.
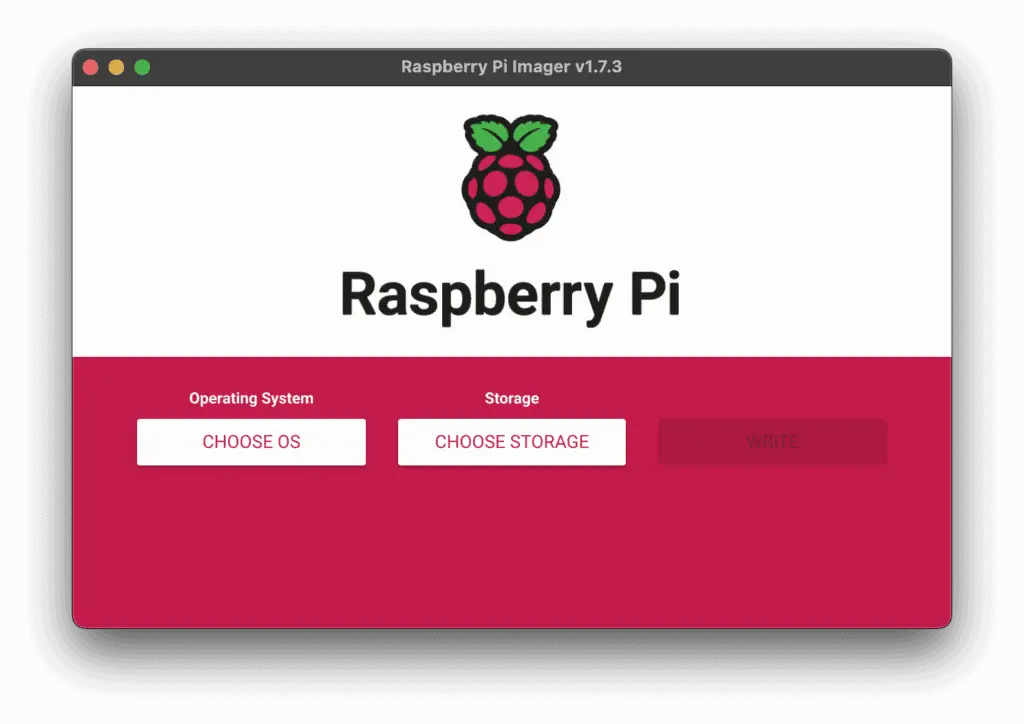
Once opened, select ‘Choose OS’.
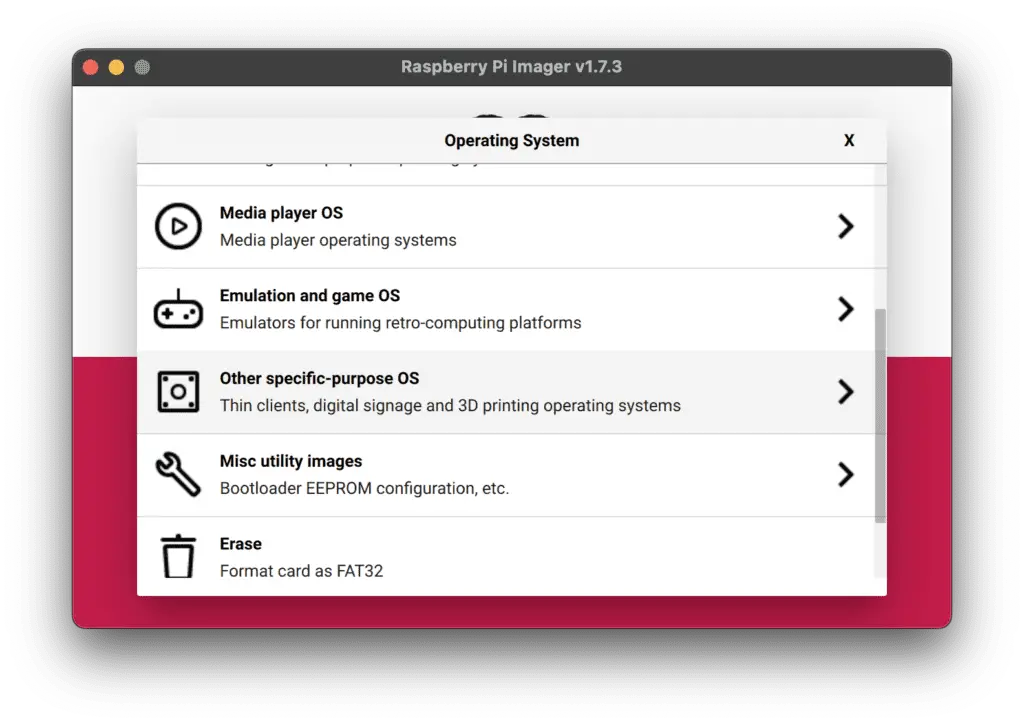
Then, select ‘Other specific-purpose OS’.
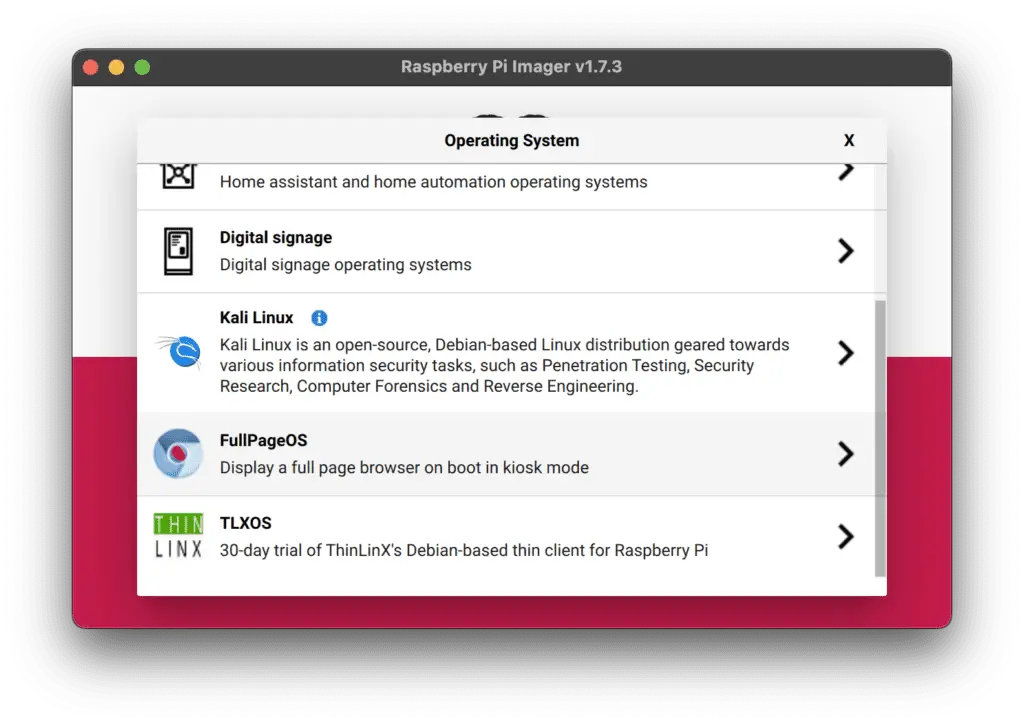
Next, scoll down and select ‘FullPageOS’ – this is a Linux distribution for Raspberry Pi that is pre-configured to act as a locked-down internet kiosk.
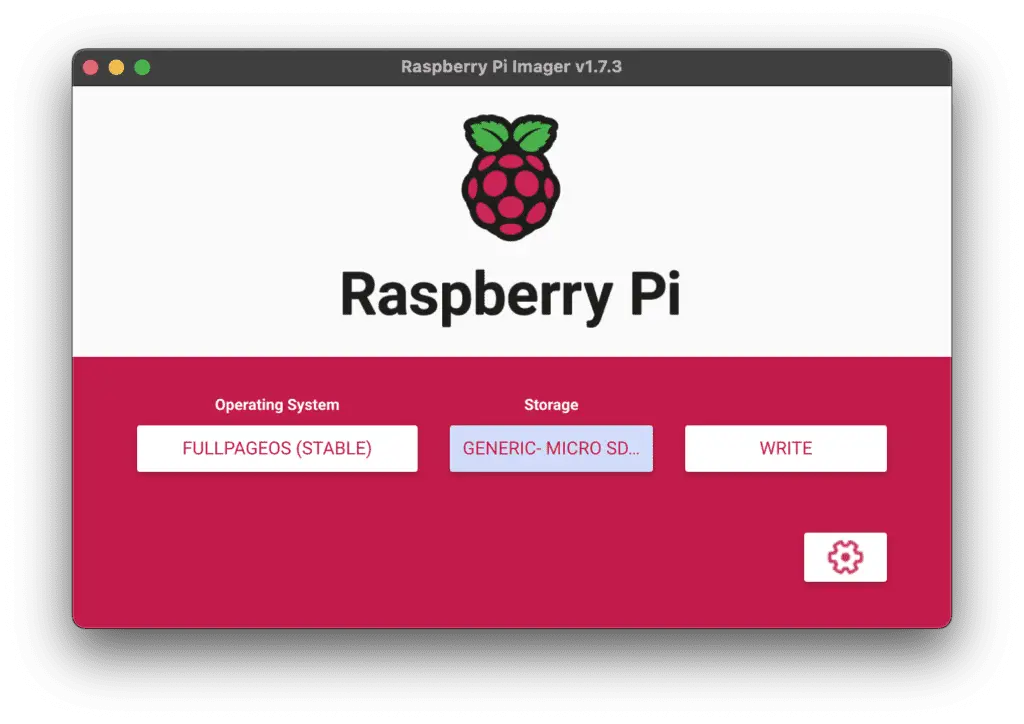
Once you’ve selected the Operating System, insert the SD-Card from your Raspberry Pi and click ‘Storage’, then select your SD card from the list of storage devices.
Once that’s done and you’re sure you’re happy to overwrite all of the contents of your SD-Card, click ‘Write’ to install FullPageOS.
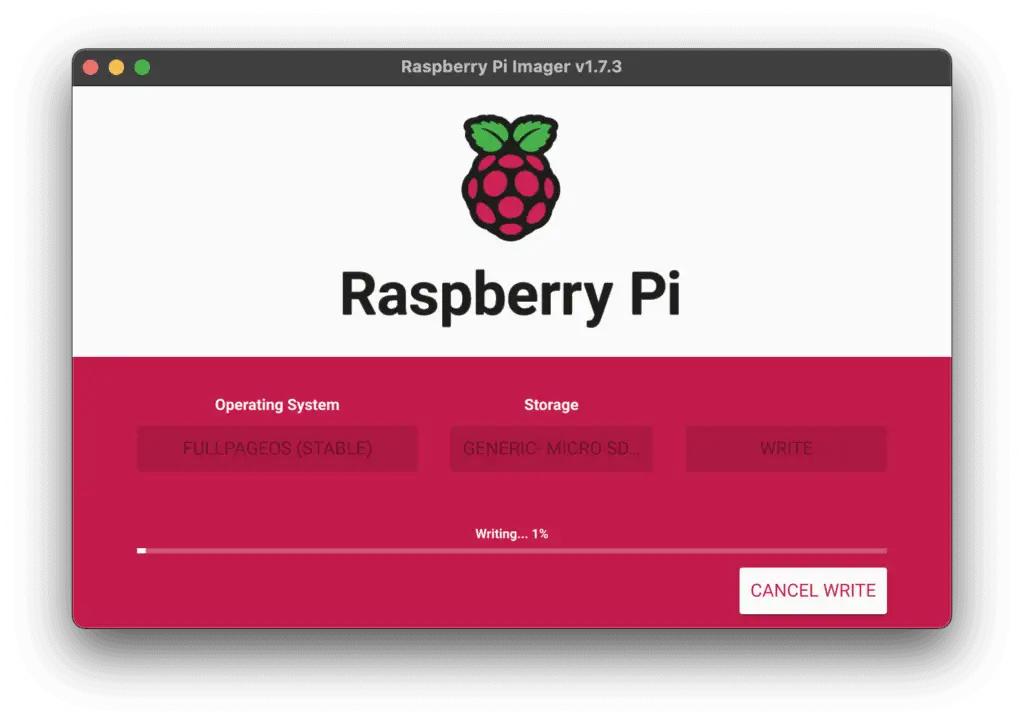
Go and make a cup of tea – this might take a few moments.
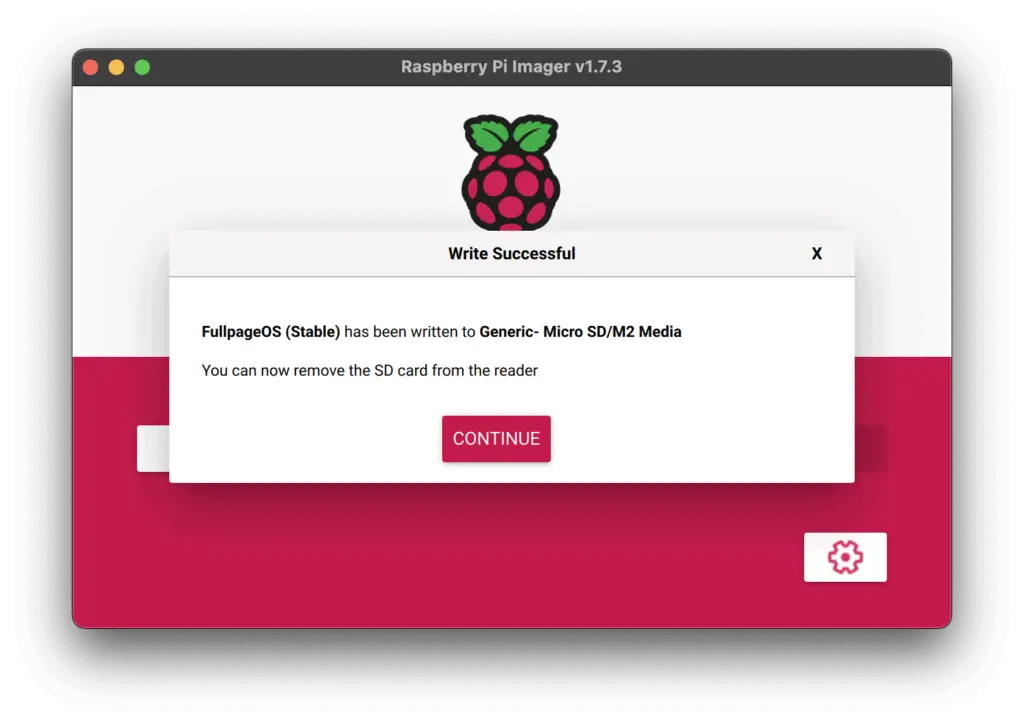
Done! But don’t remove the SD-Card yet – the Kiosk needs to be configured first.
Configuring FullPageOS
While your SD card is still in your computer, open the boot partition that was created during the imaging process and navigate to the file /boot/fullpageos.txt.
Replace the URL shown with the URL of the website you wish to display on the Kiosk.
If you require WiFi, open /boot/fullpageos-wpa-supplicant.txt and uncomment the lines:
network={
    ssid="put SSID here"
    psk="put password here"
}
… and replace the values with your WiFi credentials.
You can find more configuration options using the setup instructions show on screen after booting FullPageOS.
Using FullPageOS on Raspberry Pi
Once everything is installed, you can put your SD-Card back into the Pi and boot it up. It may take a few minutes to install everything and resize the file system partitions.
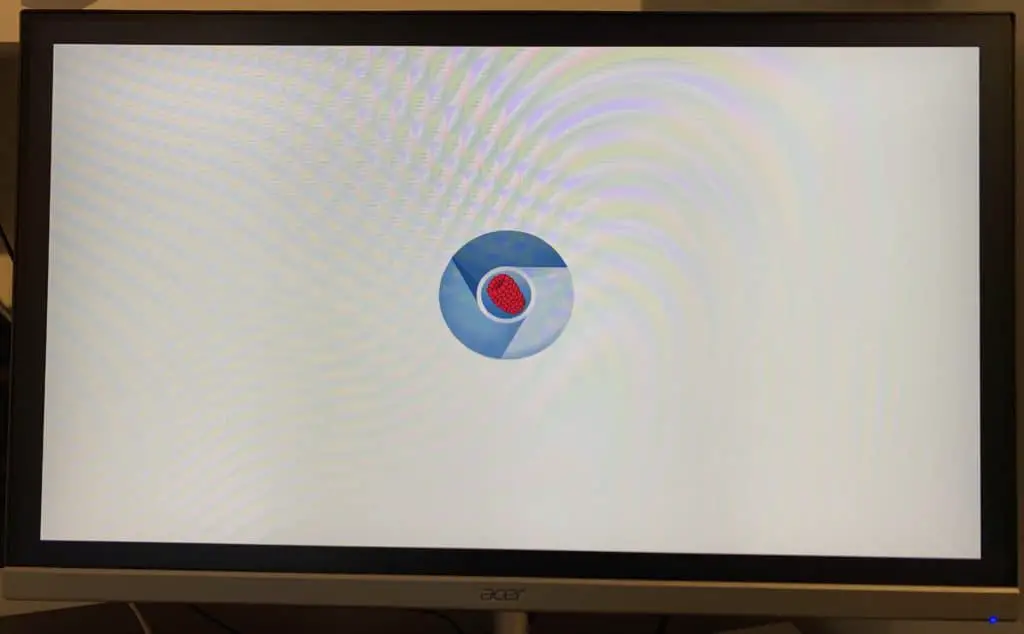
While this is happening, you’ll get the above loading screen.

if you are using the default configuration and have not set a default URL for the kios, the above screen will show with a link/QR code to configuration instructions.
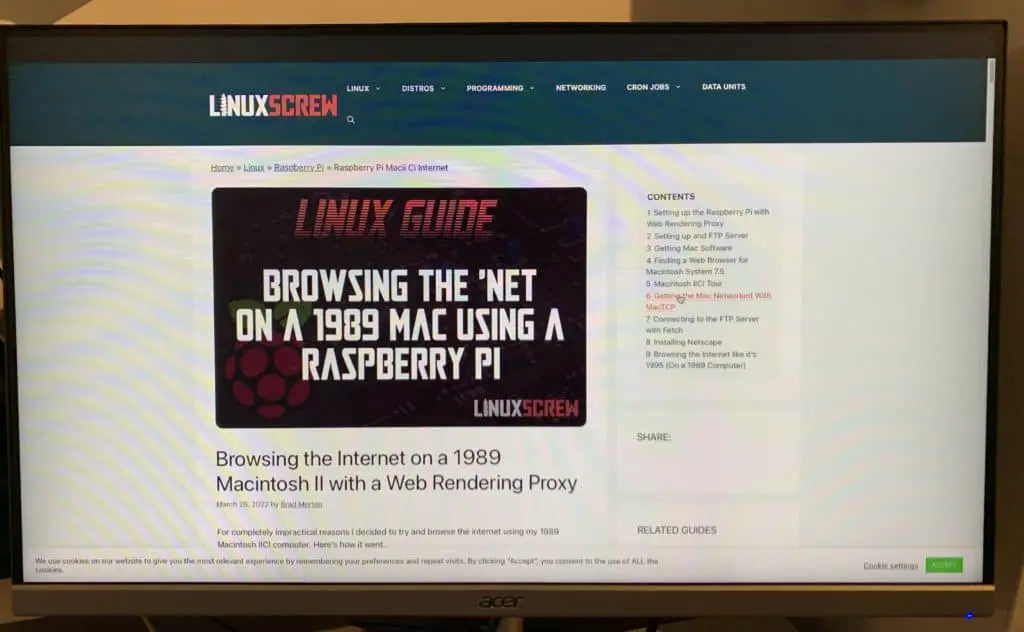
If you have supplied a URL in the configuration you’ll see that page load. FullPageOS by default restricts the websites that can be access to those in the configuration.
You’re Good to Go!
There’s not much more to it than that. Place your kiosk where your customers can use it, maybe after securing your Pi so that nobody runs off with it.
Also Good for Digital Signage
FullPageOS can also make a good digital signage tool. Simply host your own signage content on your own web server, and point FullPageOS to it – you can set a reload interval too so that the content is always up to date with what you are hosting on your web server.

