The title pretty much explains this project- it’s a tank, that can shoot BBs – powered by a Raspberry Pi and Python Code.
It’s pretty awesome.
This is part one of a two-parter and handles all of the hardware and wiring and a Python script for test firing the engines.
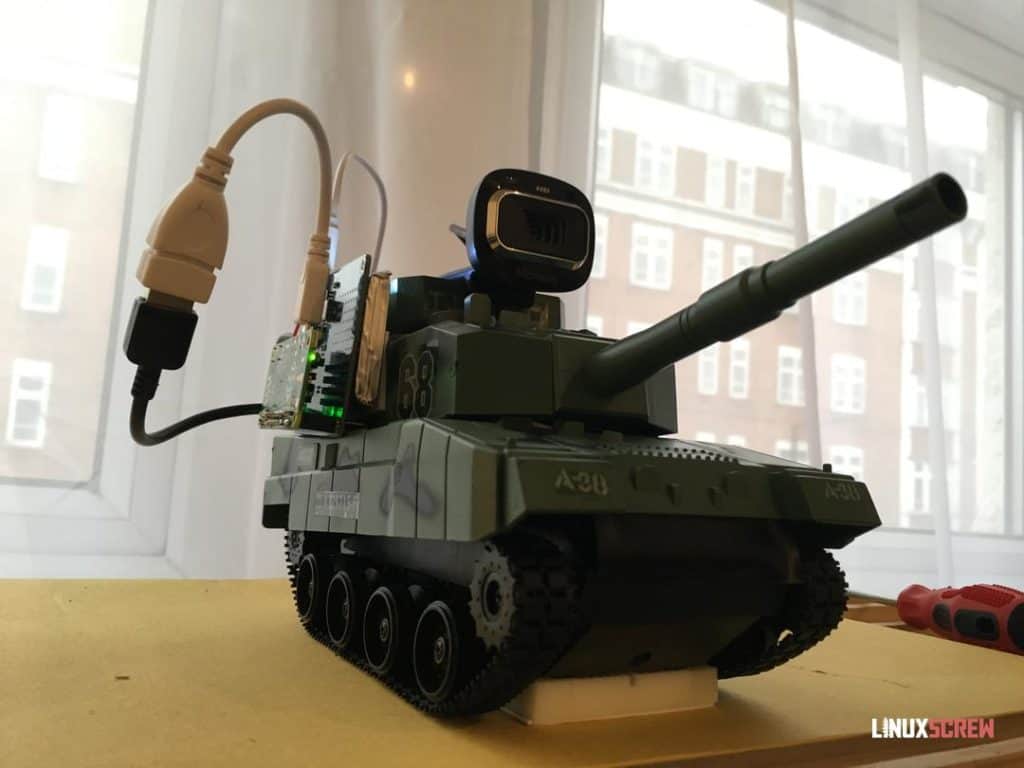
As with my other projects, I’ll try to keep things simple and limit the tools required – in this case, a screwdriver, craft knife, and a soldering iron is all you should need.
Speaking of my other projects, check them out:
Tank Tour
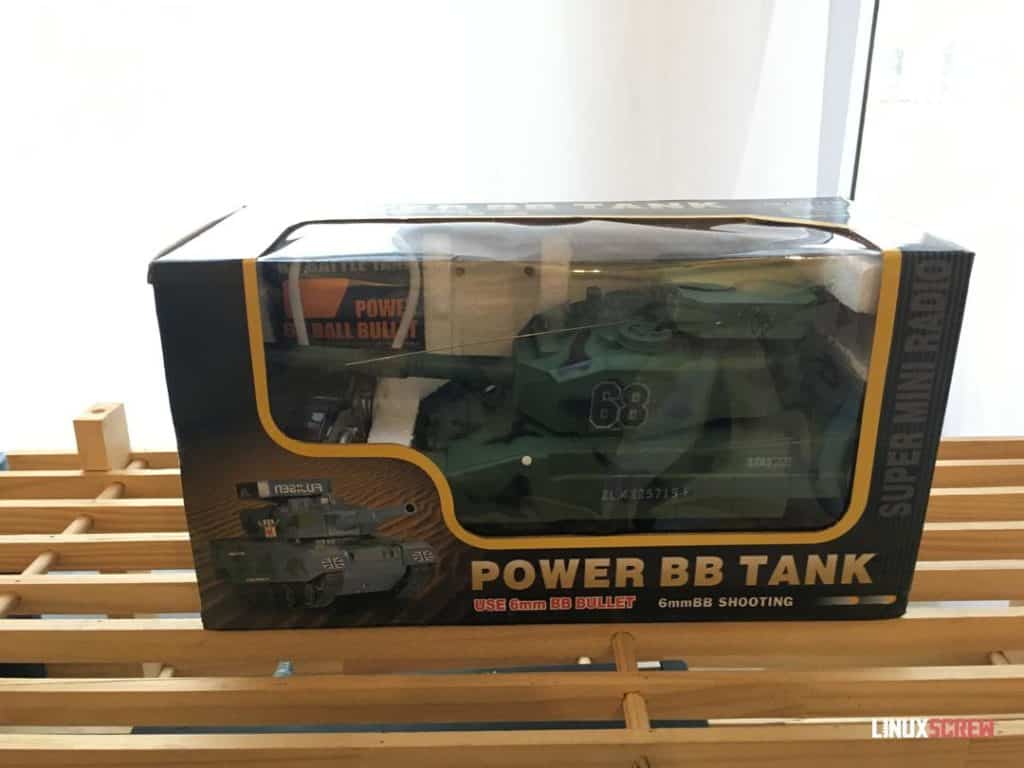
This is the remote-controlled tank I will gut and turn into a rolling example of hacking prowess.
You can probably find this exact model on your preferred online marketplace; they seem pretty ubiquitous. This one cost about 15 bucks.
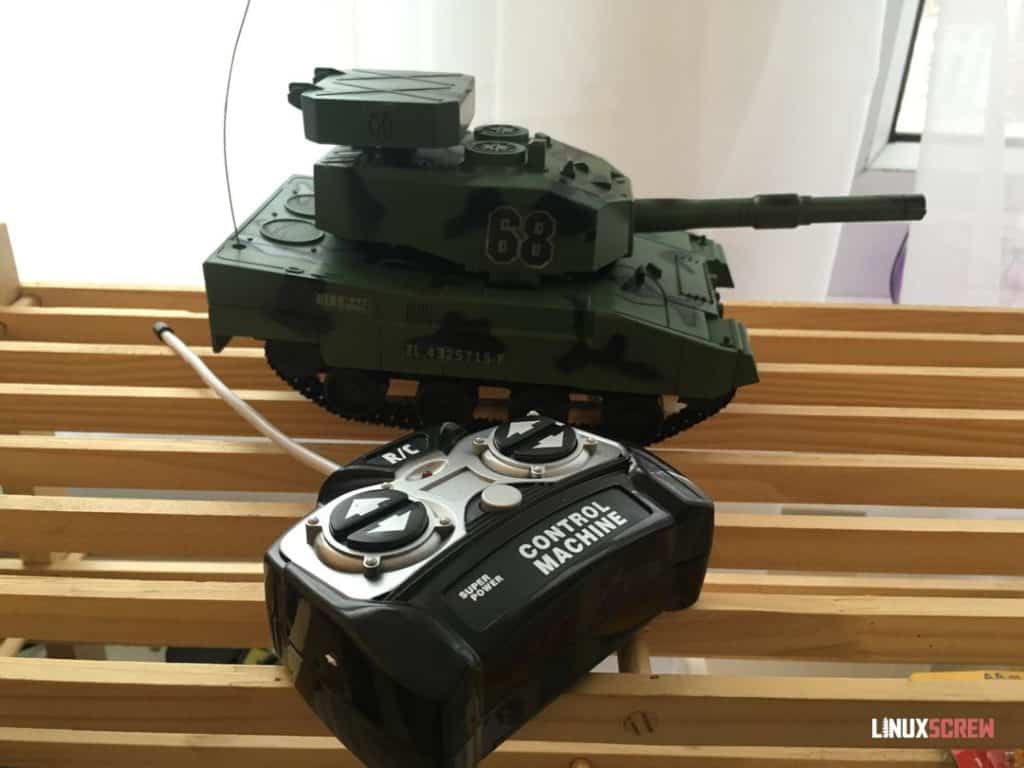
Here it is unboxed.
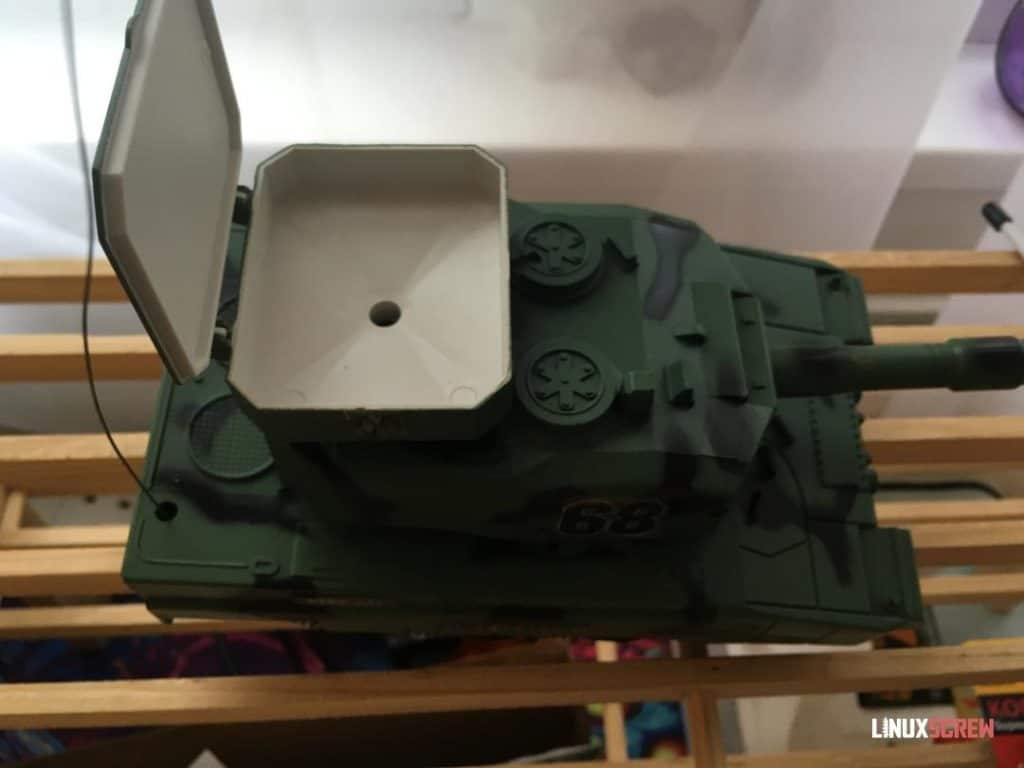
Here’s where you can load in some plastic beads for it to shoot.
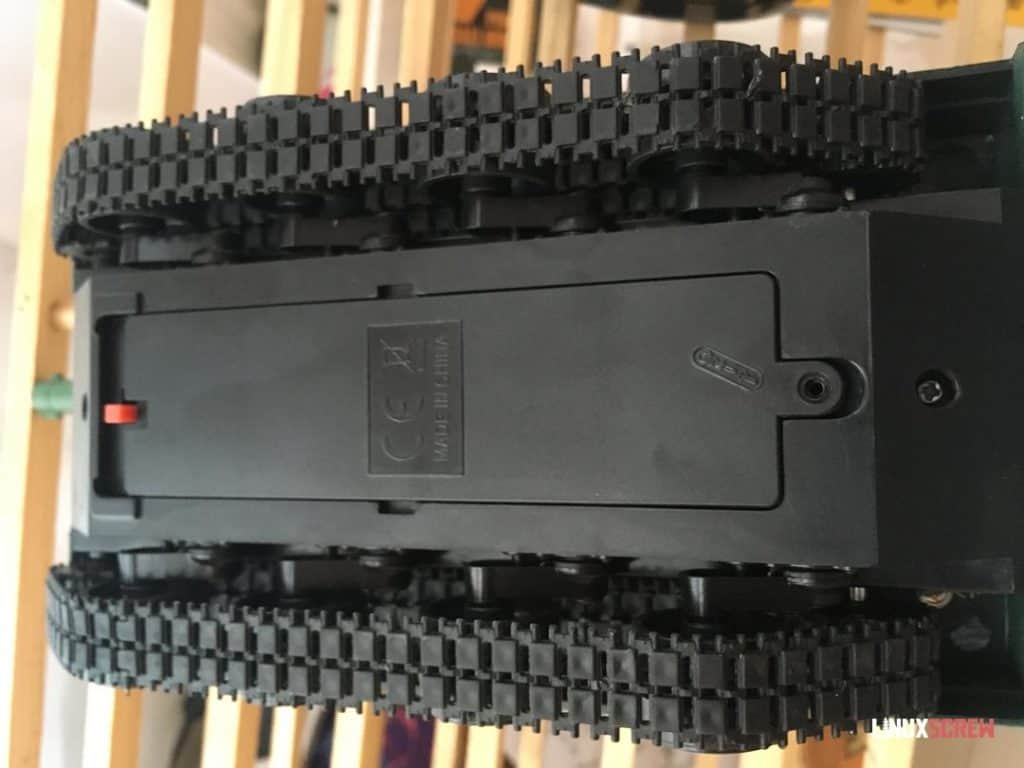
This is the underside, with a couple of screws holding it together.
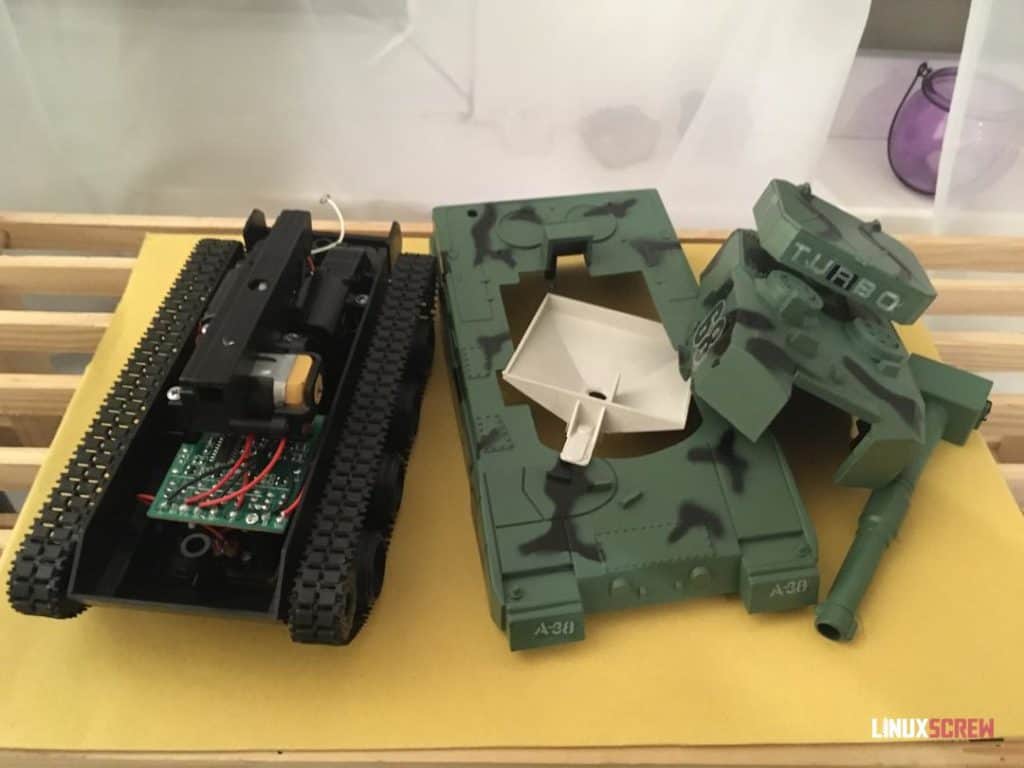
With the screws removed, it disassembles pretty easily. At the front is the gun assembly – a motor is spun to flick plastic beads out.
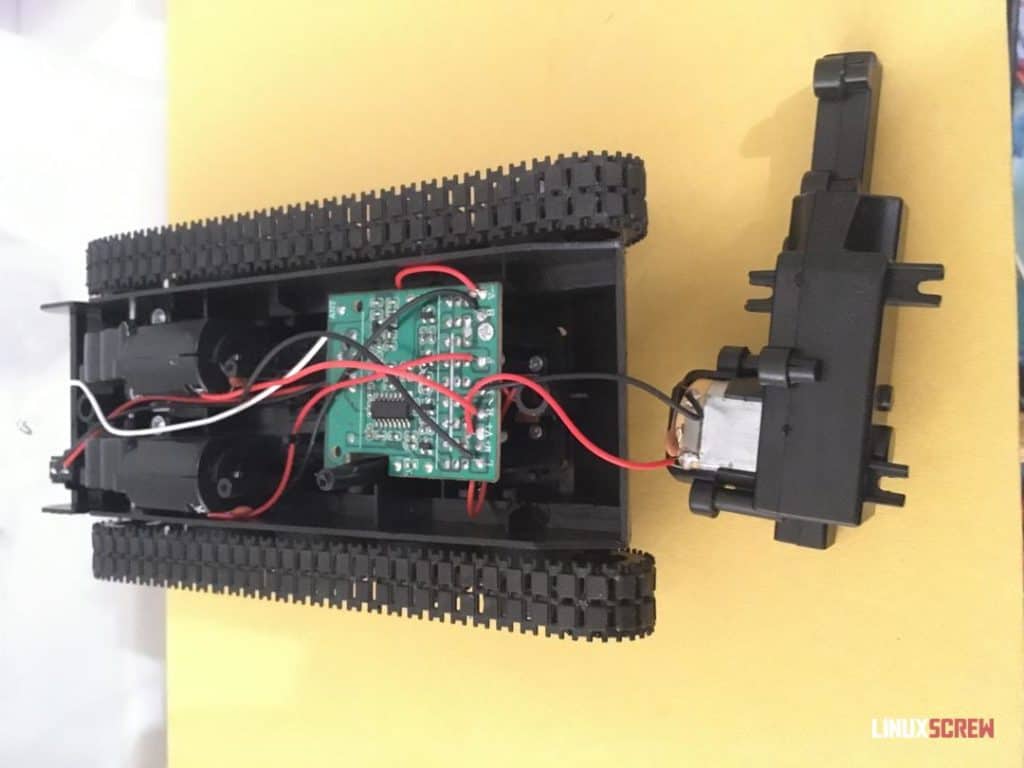
The original brains of the tank are shown above.
Unfortunately, this particular tank seems to have suffered some water damage. The box had fallen apart, and the tank didn’t really respond to the included remote, but eventually, it came to life with a bit of coaxing.
Other materials
In addition to the tank, you’ll need
- Raspberry Pi
- Raspberry Pi power supply/battery
- Soldering Iron
- Assorted lengths of wire
- Veroboard
- L293D chip
- Either a webcam or Raspberry Pi camera if you want to be able to live stream from the tank
Setting up the Pi
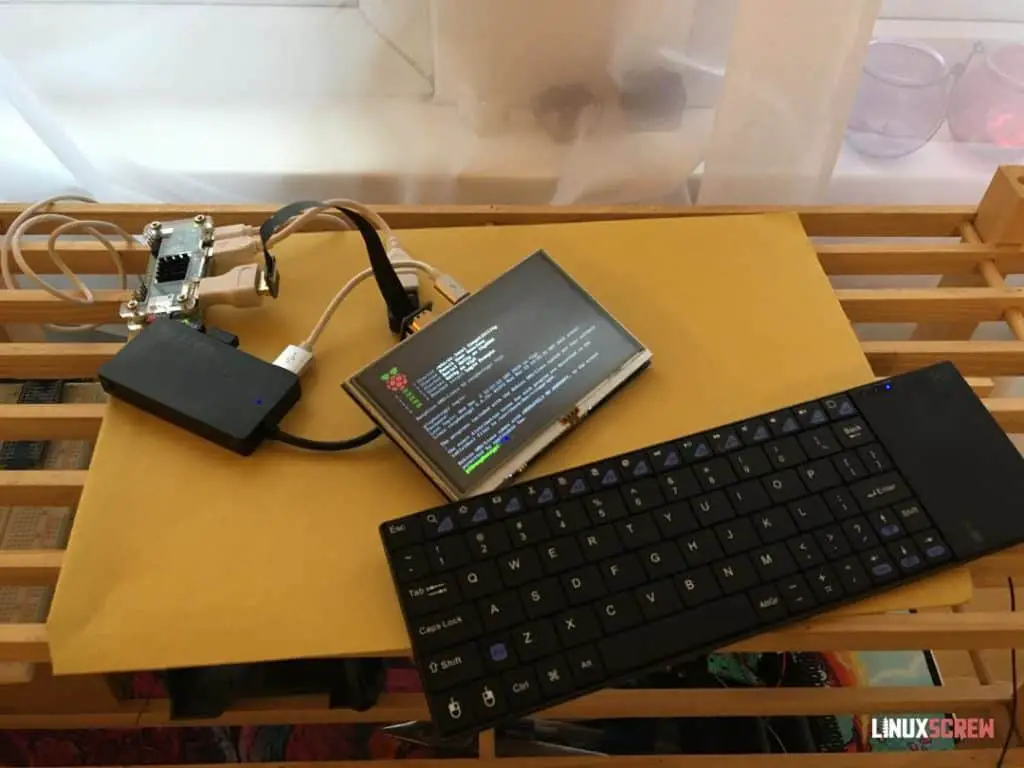
First up, you’ll need to get your Raspberry Pi up and running with an Operating System, connected to your WiFi Network, with a static IP and SSH enabled.
There is a new tool- the Raspberry Pi Imager- which can be downloaded from:
https://www.raspberrypi.org/software/
Which will set up an SD card with Raspberry Pi OS, ready to go.
I recommend using Raspberry Pi OS Lite as this project doesn’t require a full desktop interface.
We’ve covered the other steps in the below articles:
Gutting the Tank
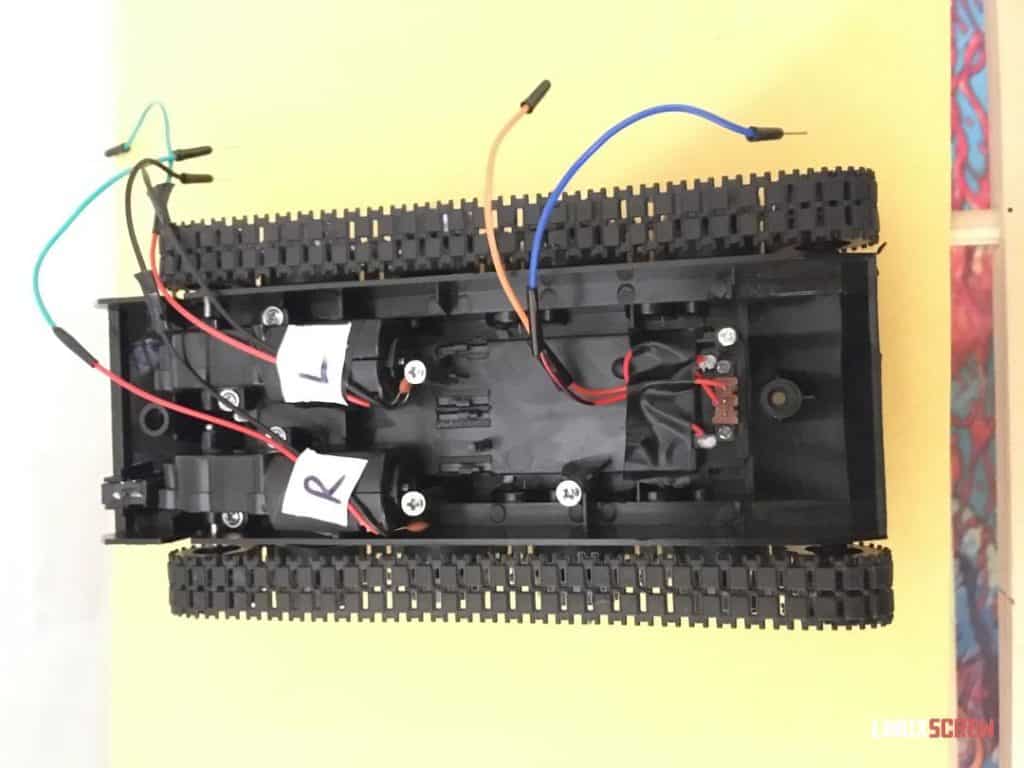
The existing circuit board was removed, as was any extra plastic mounting for it that might get in the way. Wires were reinforced and extended to make things easier to work with.
Drives are labeled L/R as I kept getting left and right mixed up with I spun the tank around because I’m an idiot.
Early Experiments
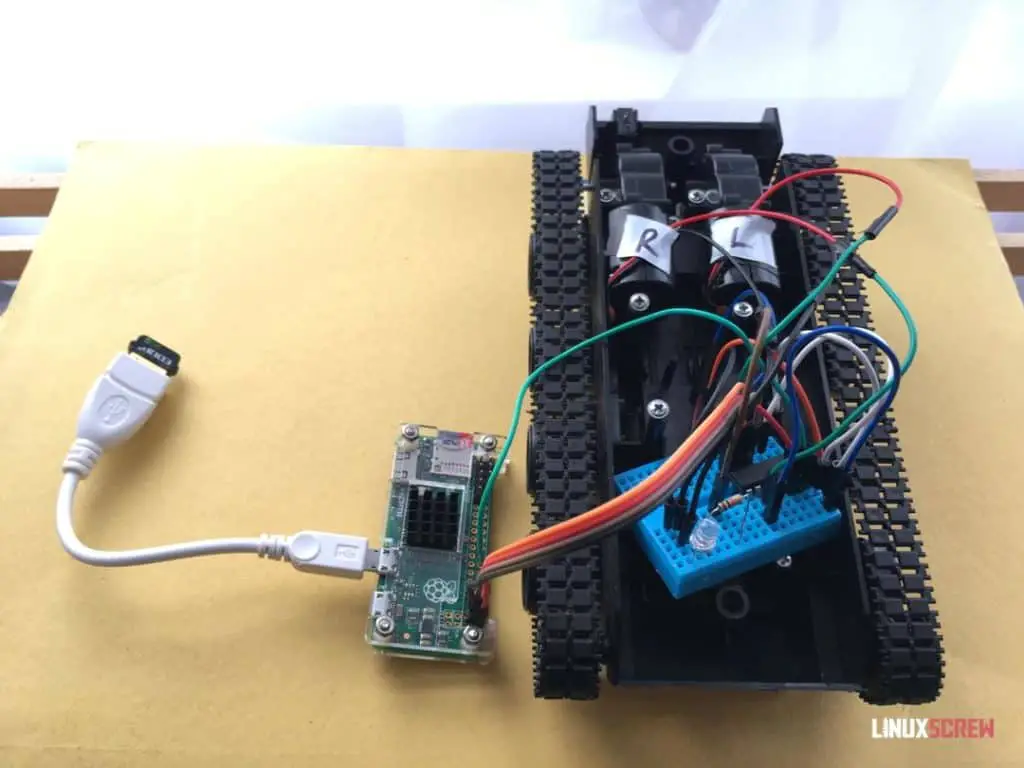
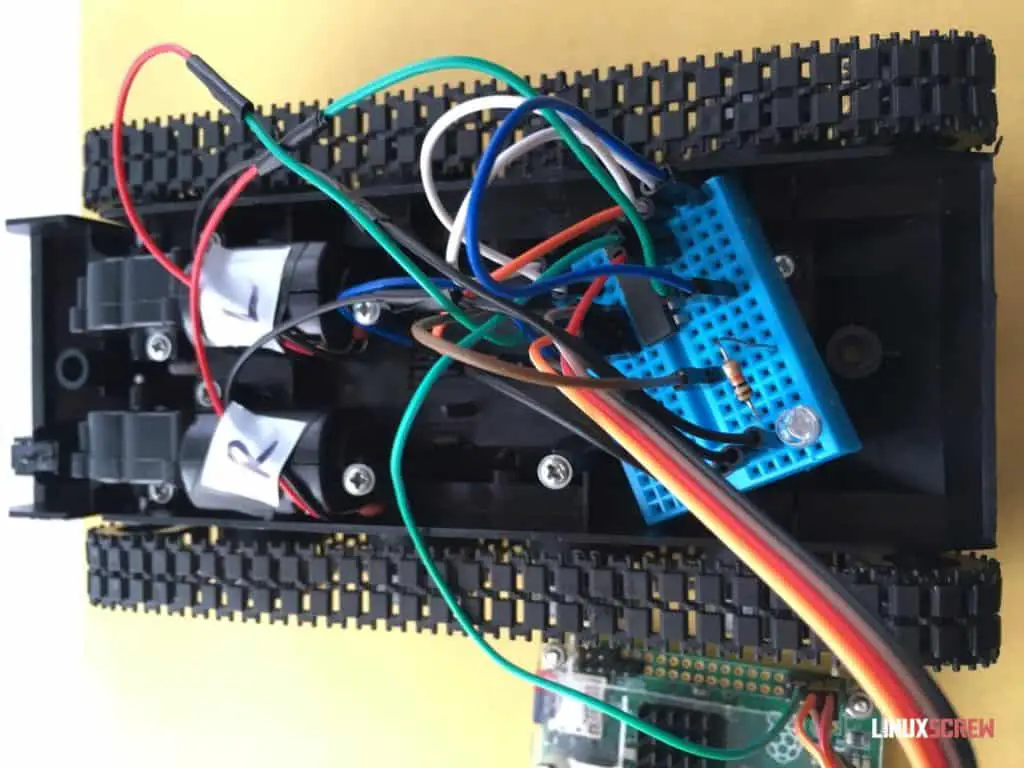
Initially, I tried to use some spare bits and pieces to drive the tank from the Pi. I won’t detail what and how, as it’s irrelevant, and someone might try and follow those examples.
Long story short, things either didn’t work or got very, very hot. I don’t want a mobile fire hazard.
L293D To The Rescue
The correct part for the job is the L293D chip. This chip is specifically designed for driving up to two DC motors. A pack of 5 was a few dollars online.
The chip supports 3v to 18v – the 4 AA batteries in the tank will supply 6v, so it should be spot on.
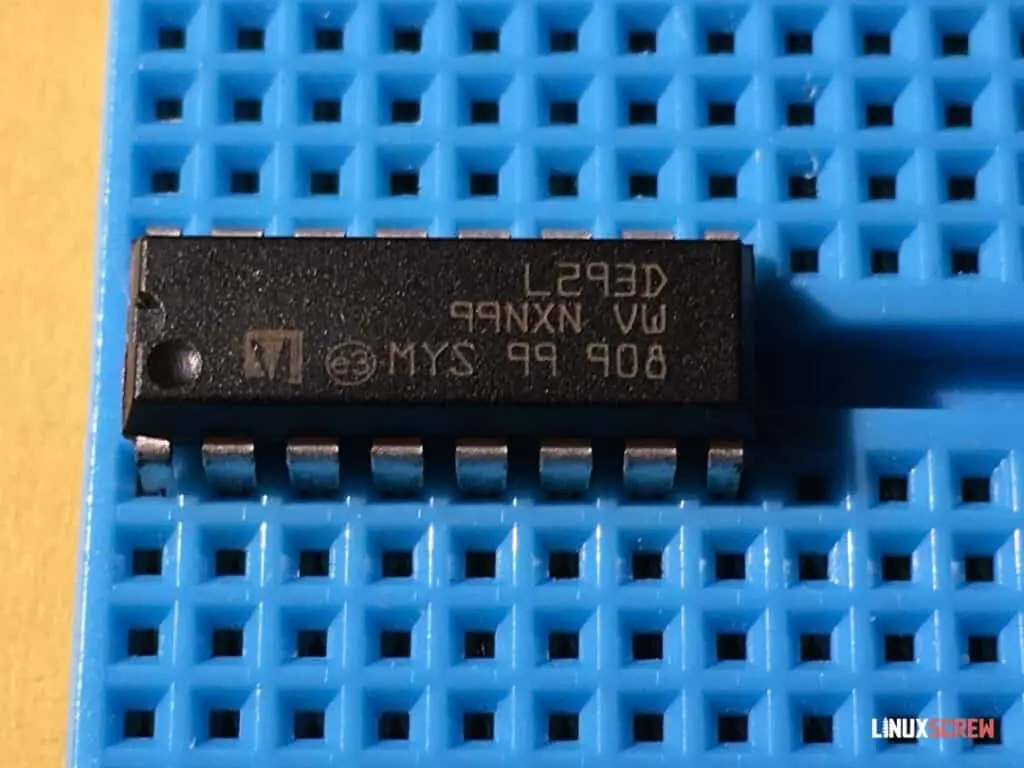
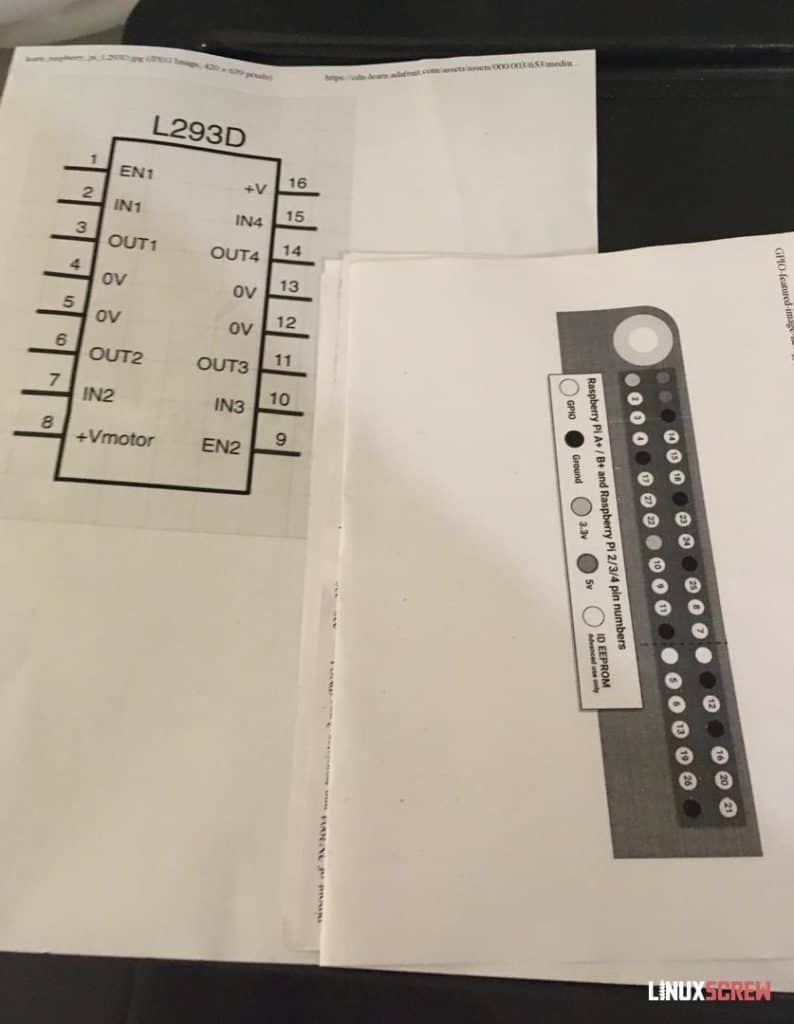
I’ll usually print out pinouts for whatever hardware I’m wiring up so that I can scribble notes on it. Things can get crowded once all of the wires are in place, so a reference is useful.
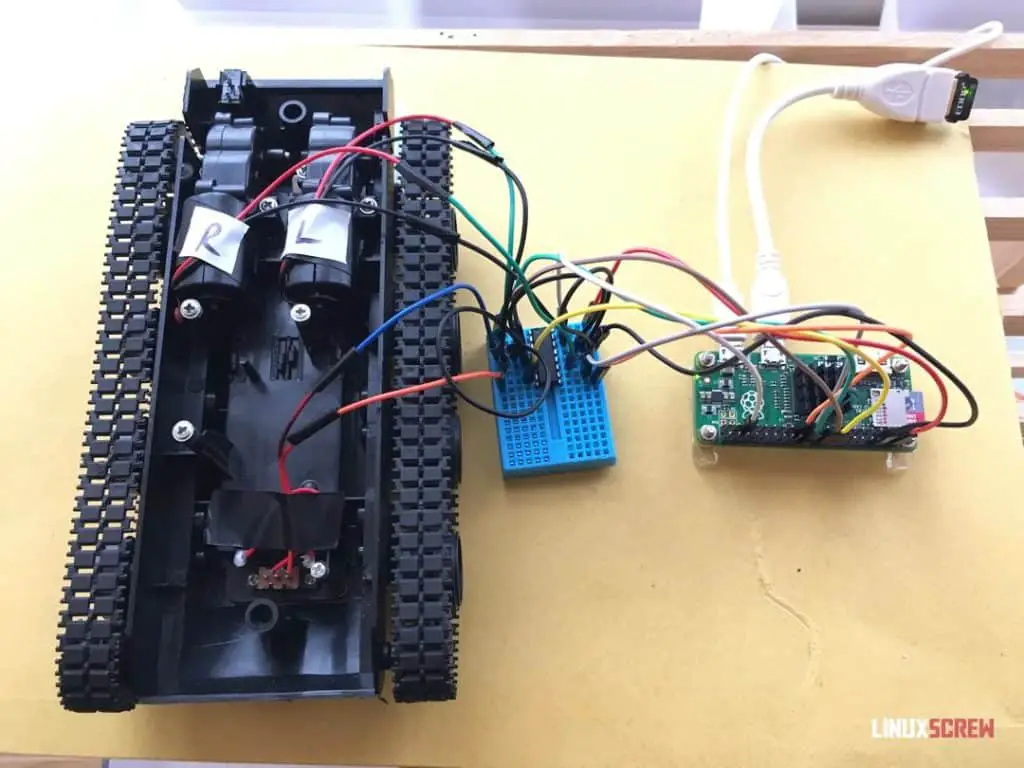
L293D wired up and ready to roll. See below for how this was done.
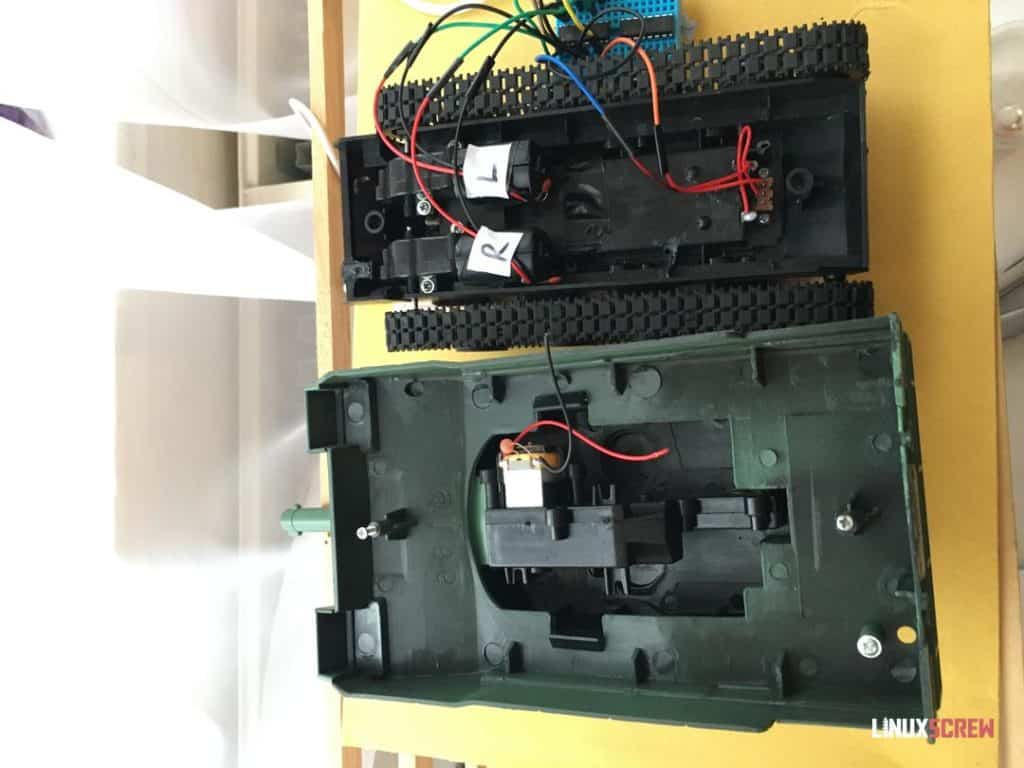
The gun is now glued into the lid to keep it out of the way.
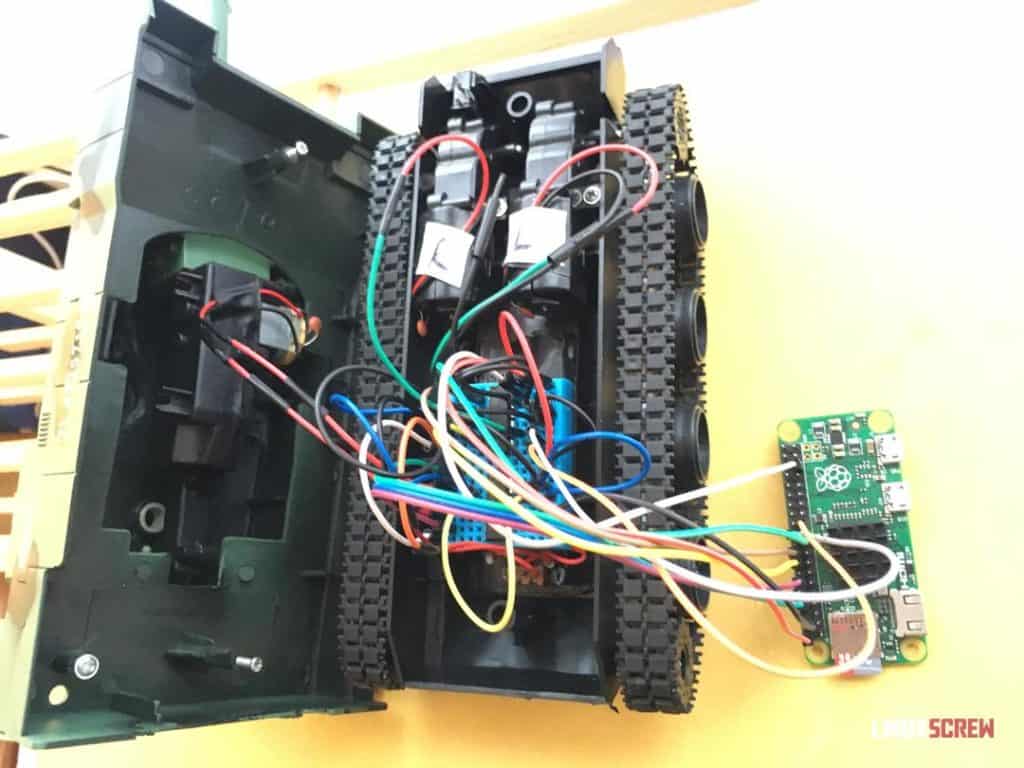
Everything is wired together and ready to close up (sort of).
As the L293D only supports driving two motors, a second chip has been added to deal with the gun.
Pinout
I’ll skip a circuit diagram as it just looks messy – here’s what Raspberry Pi pin is wired to what L293D pin.
| L293D Pin | Raspberry Pi Pin | GPIO Pin Number |
|---|---|---|
| en1 | 22 | GPIO 25 |
| in1 | 18 | GPIO 24 |
| in2 | 16 | GPIO 23 |
| # out1 | to left motor | |
| # out2 | to left motor | |
| en2 | 23 | GPIO 11 |
| in3 | 21 | GPIO 9 |
| in4 | 19 | GPIO 10 |
| #out3 | to right motor | |
| #out4 | to right motor |
I’ve also wired up a second L293D to power the gun:
| L293D Pin | Raspberry Pi Pin | GPIO Pin Number |
|---|---|---|
| en1 | 8 | GPIO 14 |
| in1 | 10 | GPIO 15 |
| in2 | 12 | GPIO 18 |
| # out1 | to gun motor | |
| # out2 | to gun motor |
Pin 8 on both L293D chips should run to the tank’s AA battery compartment.
Pins 4, 5, 12, 13 of both L293D chips will be attached to a common ground.
The Pi should also have a ground pin attached to this common ground, as should the AA battery compartment’s ground. Everything should share the same ground!
The wires’ polarity going from the L293D to the motor can be arranged any way – reversing the wires will just make the motor spin in the opposite direction.
Assembly ( It won’t fit )
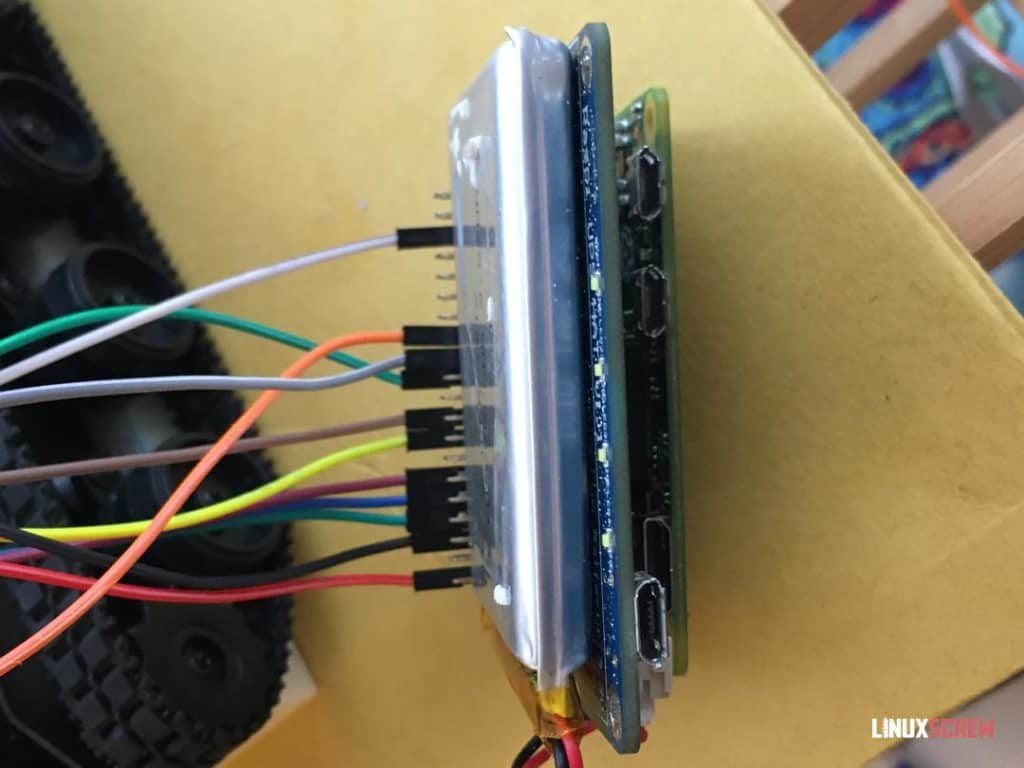
Here’s the Pi with the wires and a battery pack attached. I’ve run the wires through the top of the tank turret where there was a big enough gap.
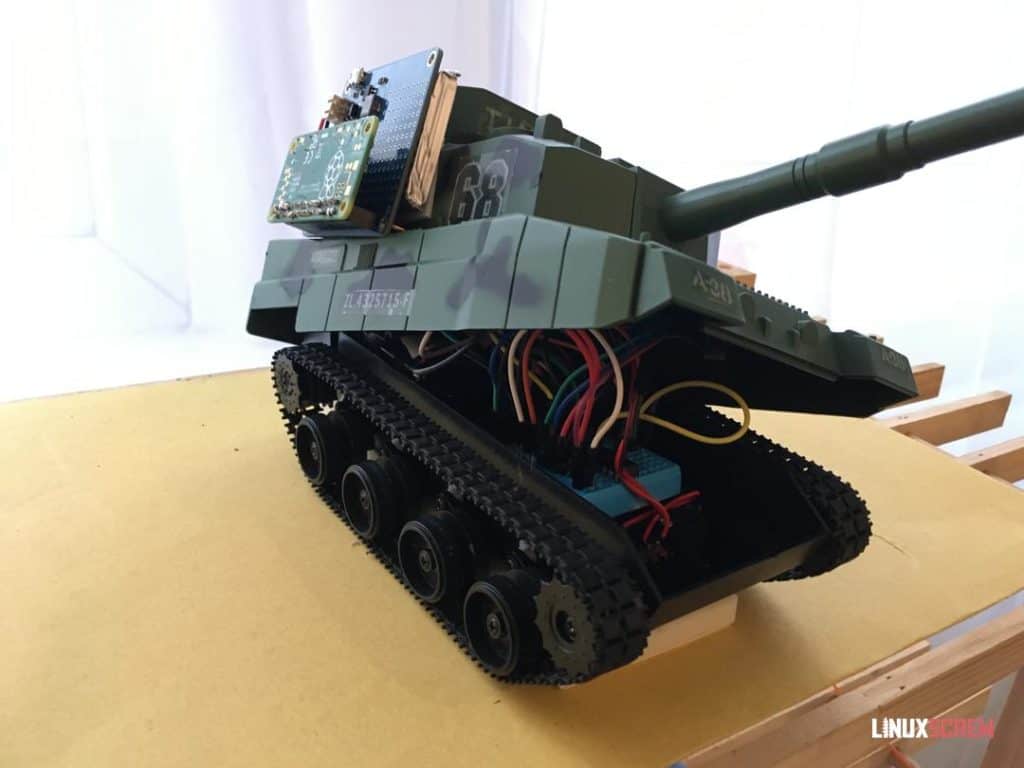
Double-sided tape keeps the battery and Pi secured to the side of the turret.
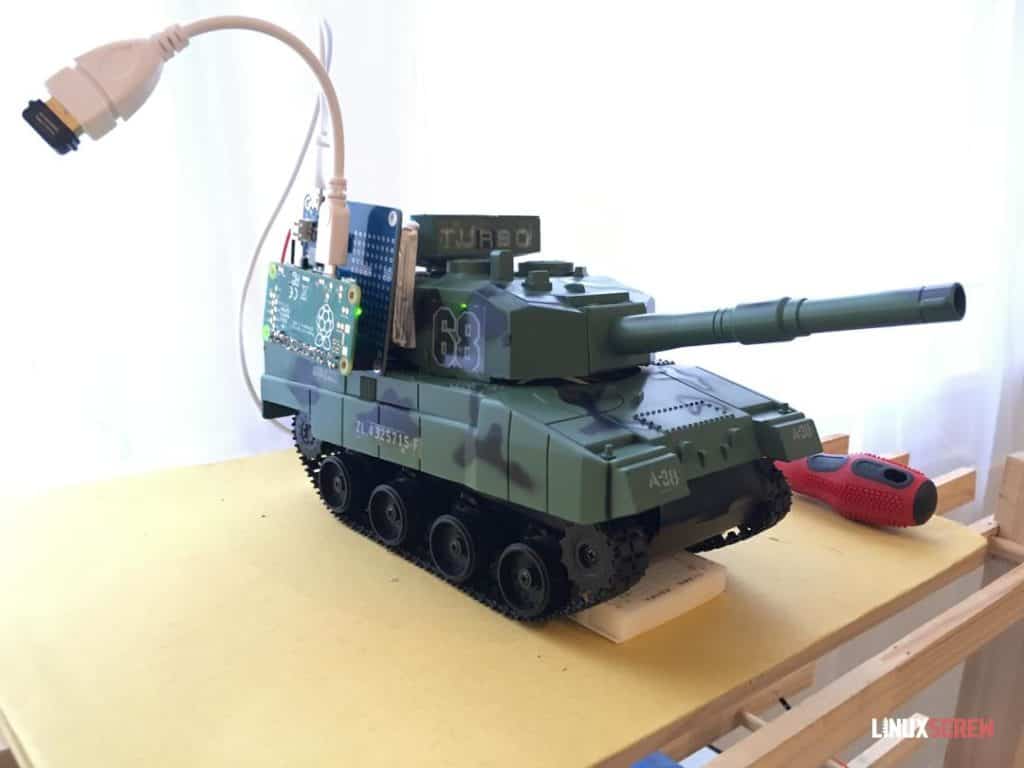
And with a bit of squeezing, everything seems to fit. Looks pretty awesome, right?
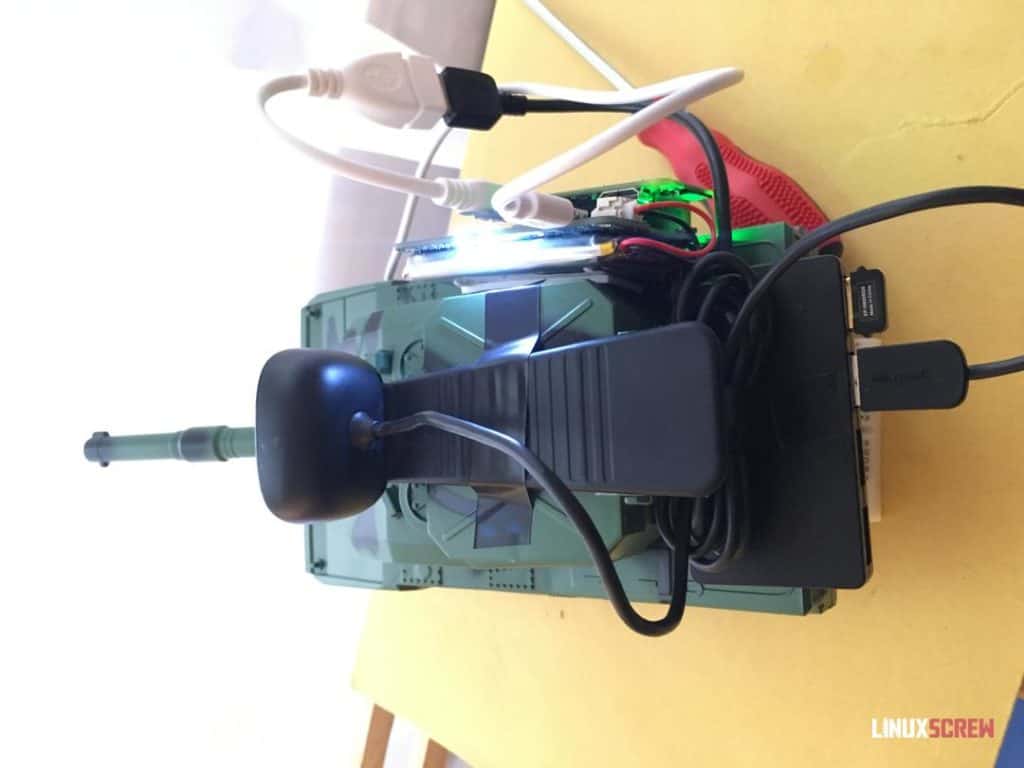
Throw a USB hub and webcam on the back.

Ready to roll!
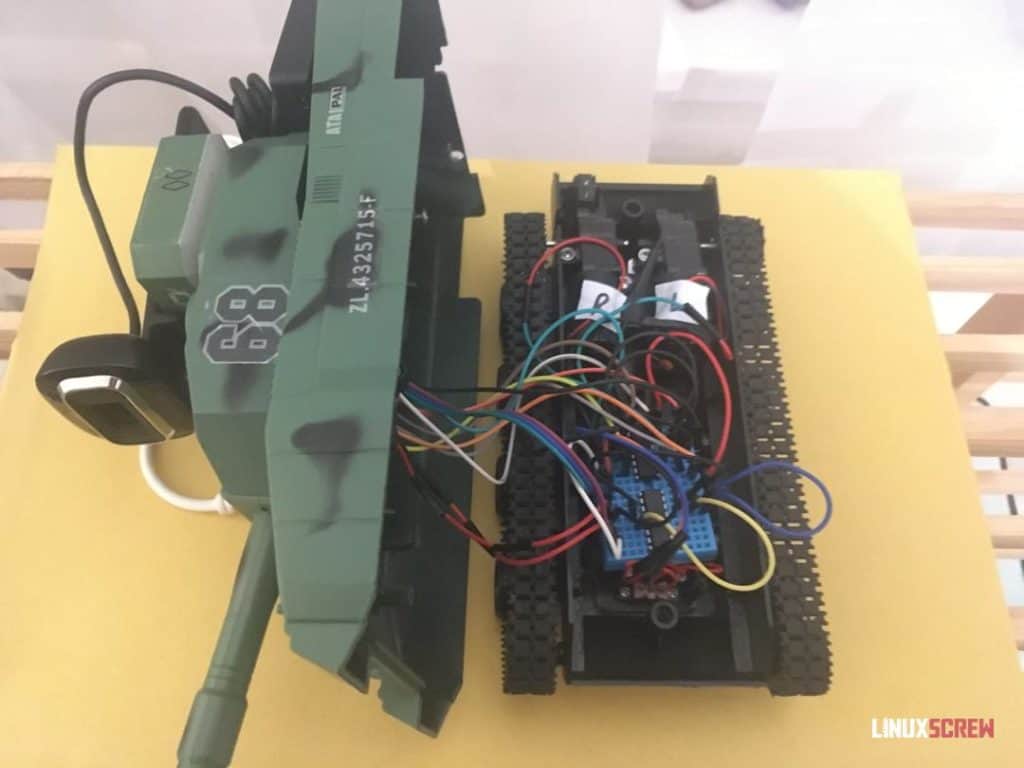
…Or not. Only one motor would spin. Squeezing everything inside the tank was just bending pins and making things come loose.
Stripboard to the Rescue!
I needed to reduce the size of the internal circuitry. That blue prototyping board was too chunky, and the wires come loose from it too easily.
The solution? Stripboard!
Stripboard is a circuit board with long rows of copper that you can scratch off to make your own circuit designs.
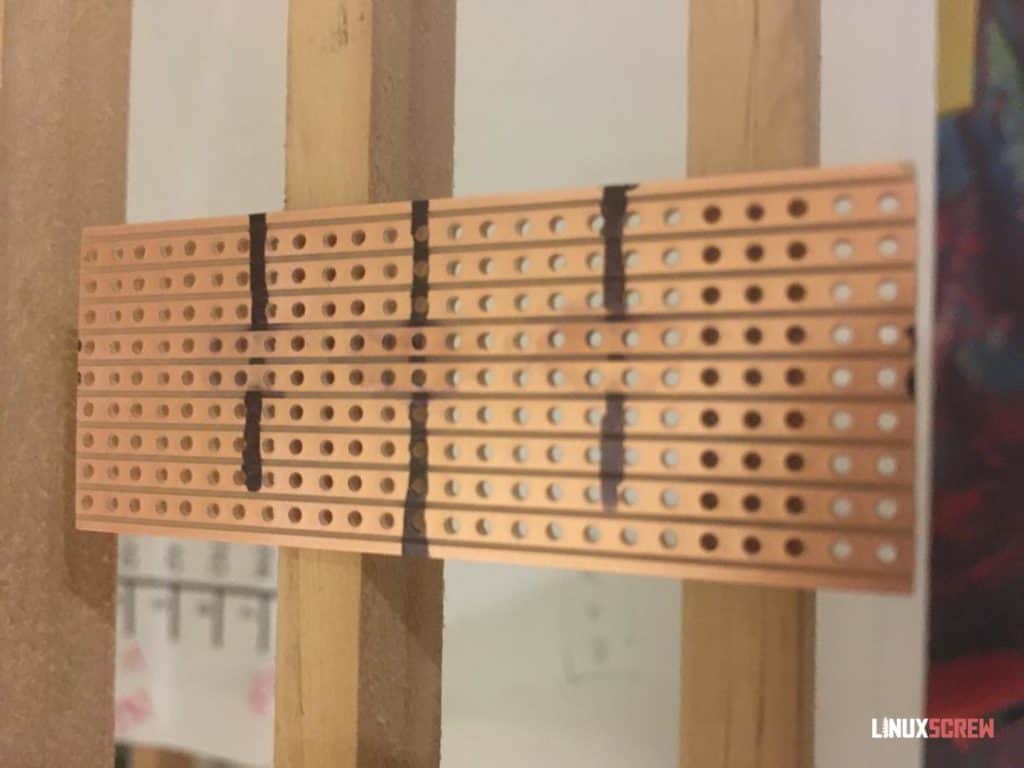
Here’s mine marked out. The two unbroken rows towards the middle are for the ground pins on the two L293Ds, and I’ve drawn where the middle of the chips will lay on the board so those sections can be removed, creating short rows of solder points for each pin on each chip.
If this makes no sense, hopefully, seeing it in action will.
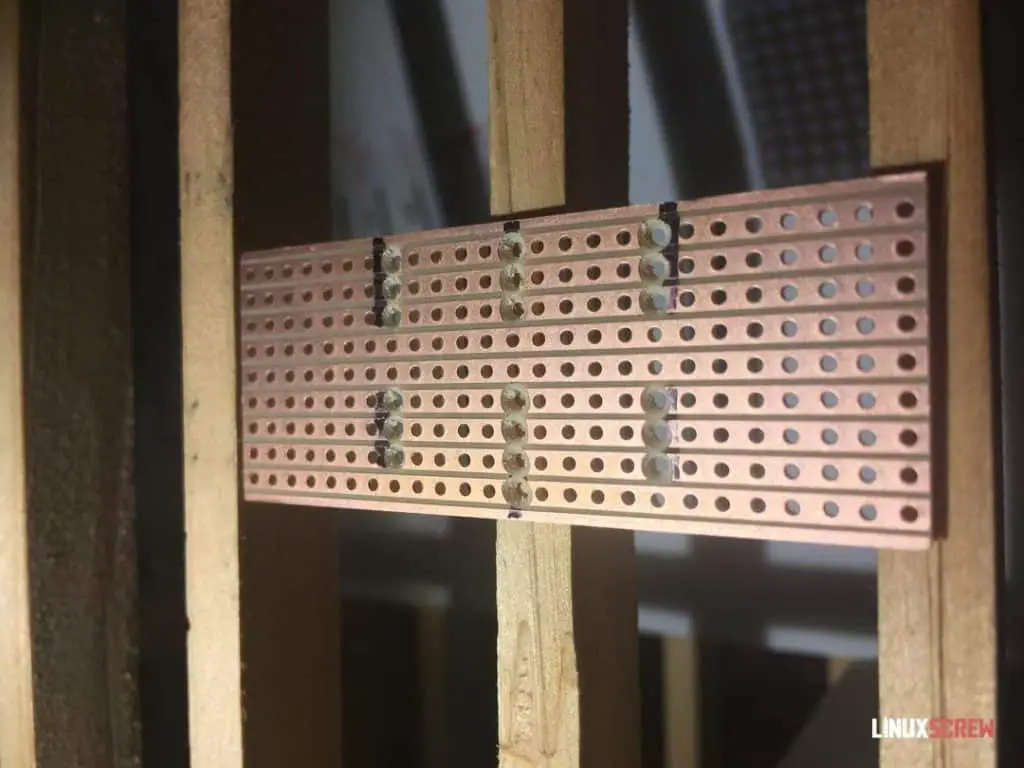
The easiest way to break the traces is simply to bore out the holes with a knife. Bore enough, and the trace will be completely severed.
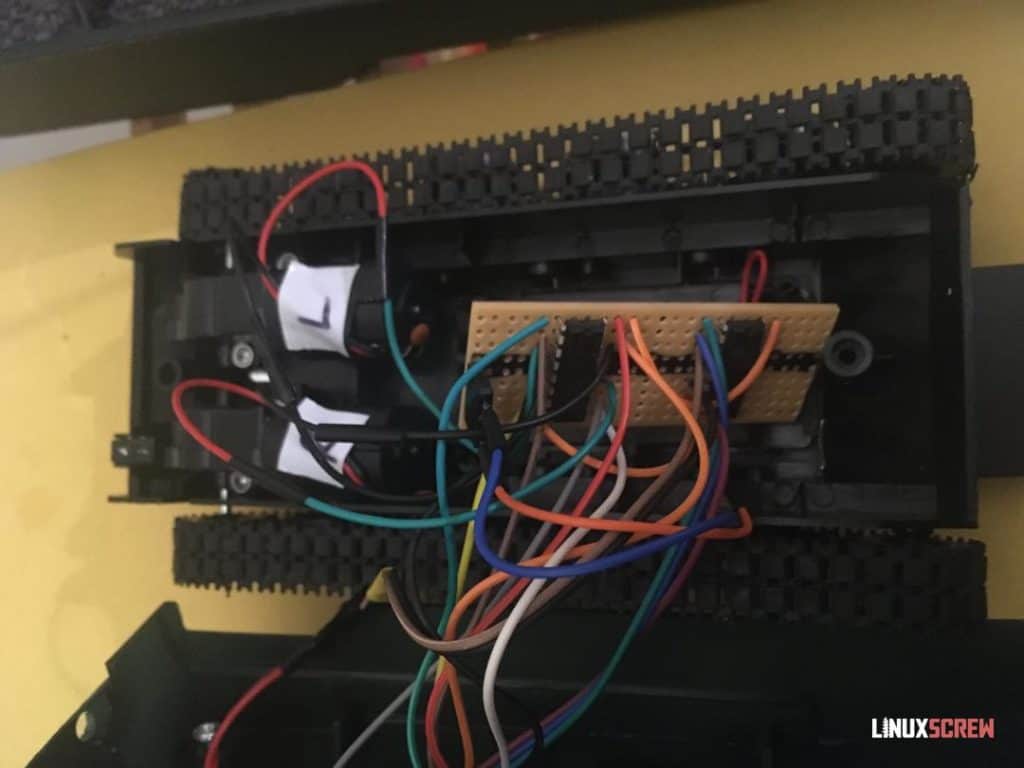
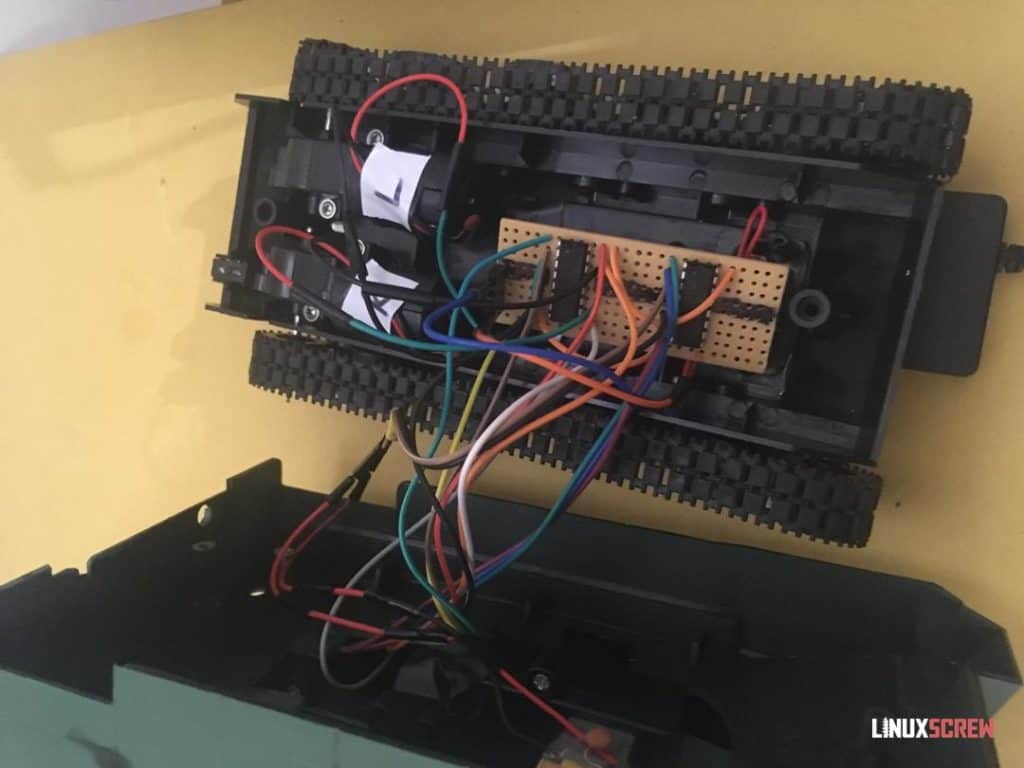
The chips are mounted on the board and soldered down. Wires can then be soldered to the copper traces attached to each pin, which then run to the Pi and motors.
More compact and much tidier!
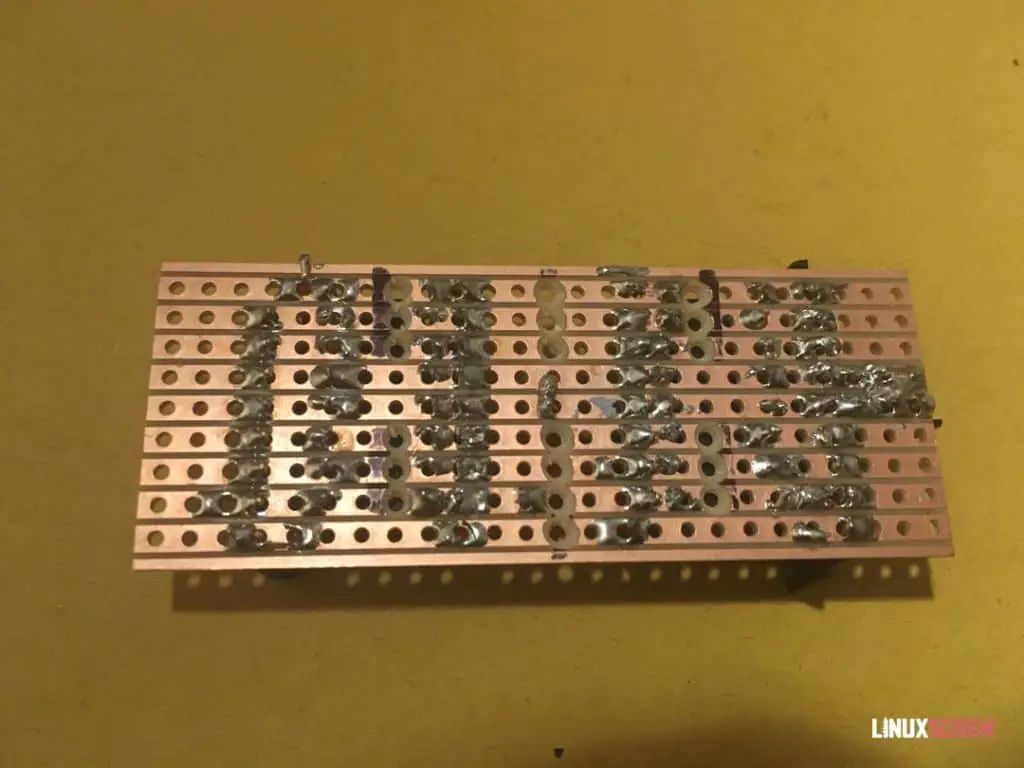
Here’s a look at the underside, where the wires and pins are soldered. The two rows which are attached to the ground pins are bridged with solder.
Bit of a mess, but it works!
Reassembled (Fits)
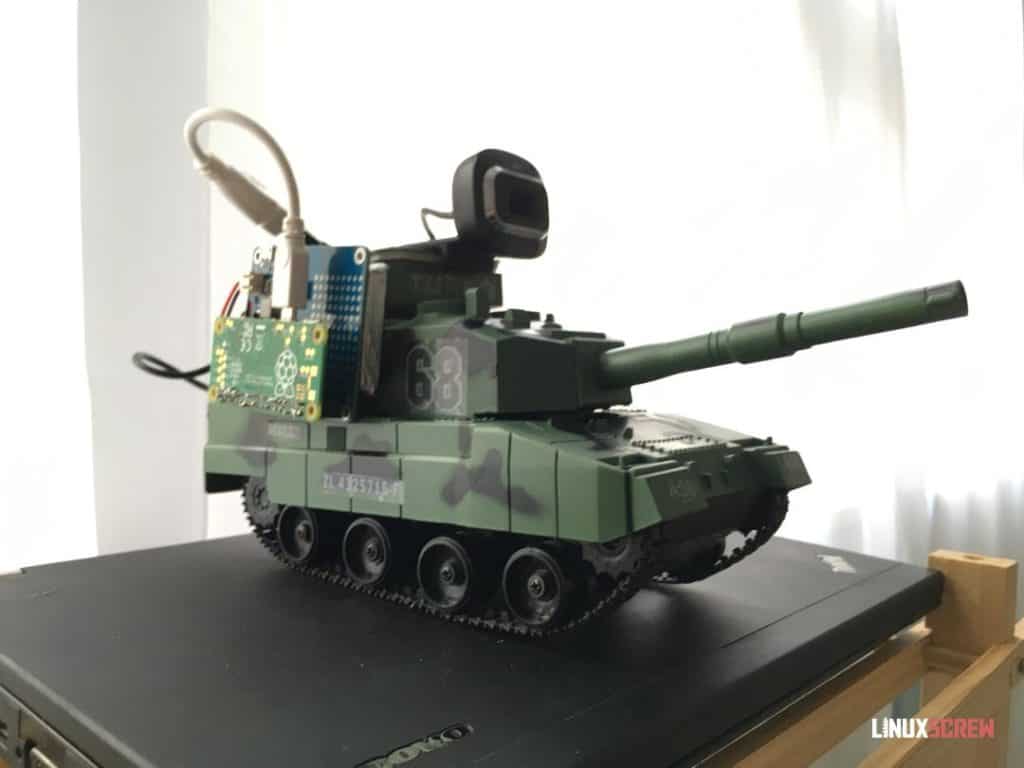
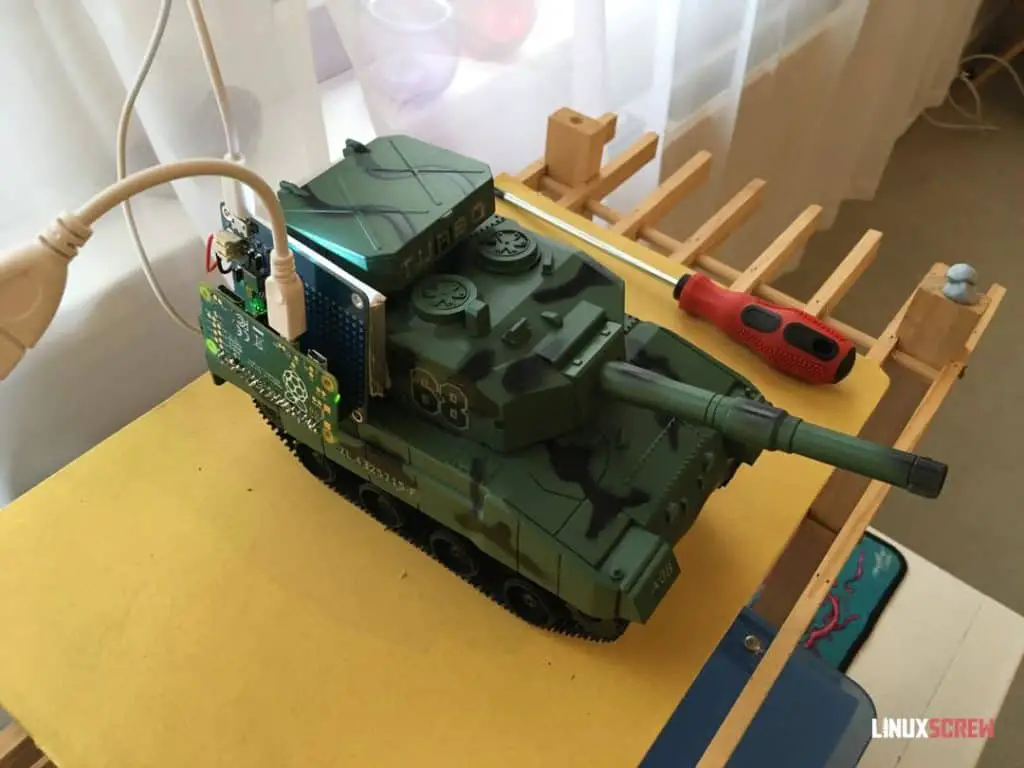
Now everything fits, and everything works when closed up.
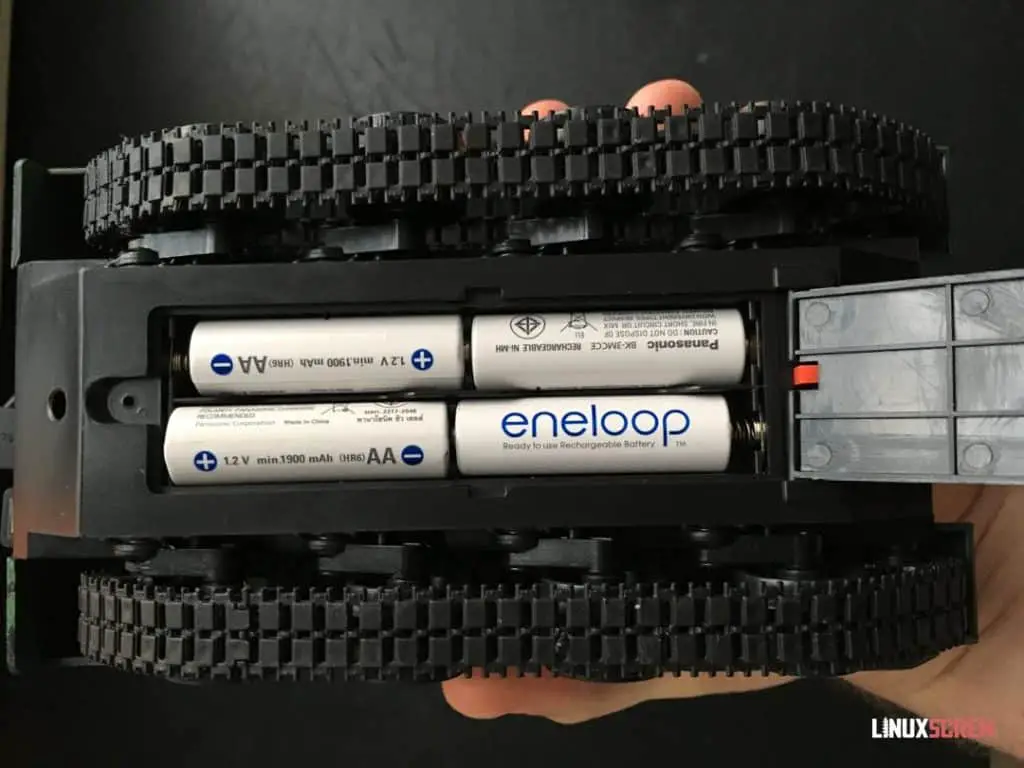
The motors receive their power from AA batteries, not the Pi.
Installing Python Dependencies
With all of that done, power up your Pi and SSH to it. We’ll install the following dependencies using apt:
sudo apt install python3 python3-pip git
Then install the required Python packages using pip:
sudo pip3 install RPi.GPIO
The Python dependencies should be installed using sudo. Eventually, we want to be able to run a web server for remote control from a browser, so they will need to be available to the root user.
Next, set up a directory for the Python code and create a file in it for the test script:
mkdir pi_tank
cd pi_tank
Now we need a Python library to interact with the L293D chips. The most up-to-date code for this library is on Github, so let’s clone the repository and install it from there:
git clone https://github.com/jamesevickery/l293d.git
cd l293d
sudo python3 setup.py install
cd ..
This will install the package and return us to the pi-tank directory.
Python Code
Here’s the python code to set up the GPIO pins and test fire each motor. Create the file tank.py and paste the code in there using the nano text editor:
nano tank.py
Comments in the code should do most of the explaining:
# This script tested for use with Python 3

# Import required libraries
import l293d.driver as l293d

# Documentation for the l293d library
# https://l293d.readthedocs.io/en/latest/

# Use BOARD pin numbering - ie the position of the pin, not the GPIO number.  The L293D doesn't seem to like using BCM numbering
l293d.Config.pin_numbering = 'BOARD'

# Here's a labelled photo of the Pi Zero GPIO Pinout
# https://i.stack.imgur.com/yHddo.png

# Define variables for the pins

en1 = 22 # GPIO 25
in1 = 18 # GPIO 24
in2 = 16 # GPIO 23
# out1 to left motor
# out2 to left motor

en2 = 23 # GPIO 11
in3 = 21 # GPIO 9
in4 = 19 # GPIO 10
#out3 to right motor
#out4 to right motor

#Second l293d for GUN
g_en1 = 8 # GPIO 14
g_in1 = 10 # GPIO 15
g_in2 = 12 # GPIO 18
# out1 to gun motor
# out2 to gun motor

# The following code sets up and tests the l293d drivers

try:

   motorLeft = l293d.DC(en1, in1, in2, force_selection=True)
   motorRight = l293d.DC(en2, in3, in4, force_selection=True)
   motorGun = l293d.DC(g_en1, g_in1, g_in2, force_selection=True)

   while True:
        print("Testing left motor...")
        motorLeft.clockwise(duration=3)
        motorLeft.anticlockwise(duration=3)

        print("Testing right motor...")
        motorRight.clockwise(duration=3)
        motorRight.anticlockwise(duration=3)

        print("Testing gun motor...")
        motorGun.clockwise(duration=3)
        motorGun.anticlockwise(duration=3)

except:
    # If there is an error, make sure we clean up any pin assignment
    l293d.cleanup()

# Make sure this runs on close so that the GPIO pins are available for re-use
l293d.cleanup()

# End of file
Test Run [With Video]
Let’s get this tank rolling. Run the following on the Pi from the pi_tank directory:
python3 tank.py
Success!
It’s a bit sluggish. I’m chalking this up to the weight of the Pi and the camera, and the previously mentioned water damage, which was probably not healthy for the motors.
Still, it works, and it’s awesome.
In the Next Episode
Powering the tank with the Pi and Python was a success – now to add a web interface with buttons to send commands and a live video stream – I’ll check back with this in a couple of weeks!

