Ubuntu is (arguably) the most popular Linux distribution. Ubuntu MATE is a great, performance-conscious, lightweight Ubuntu-based distribution that is perfect for low-cost platforms like the Raspberry Pi where you may want to forgo some of the bells and whistles for better performance.
If you’re just getting started learning Linux and programming you may not want to risk trying things out on your day-to-day computer (you might be worried about breaking it for work or school), a Raspberry Pi is a great way to experiment with new operating systems and tools.
If you do something wrong you can just wipe it and move on without risking losing important work documents (or the family photos).
This tutorial will walk you through the simple installation process for Ubuntu MATE on a Raspberry Pi 4 2GB – The mid-range Raspberry Pi 4 is affordable and actually pretty nimble for such a small piece of tech.

https://unsplash.com/photos/hKCyqSggQUg
With that over with, on to business:
Hardware Requirements
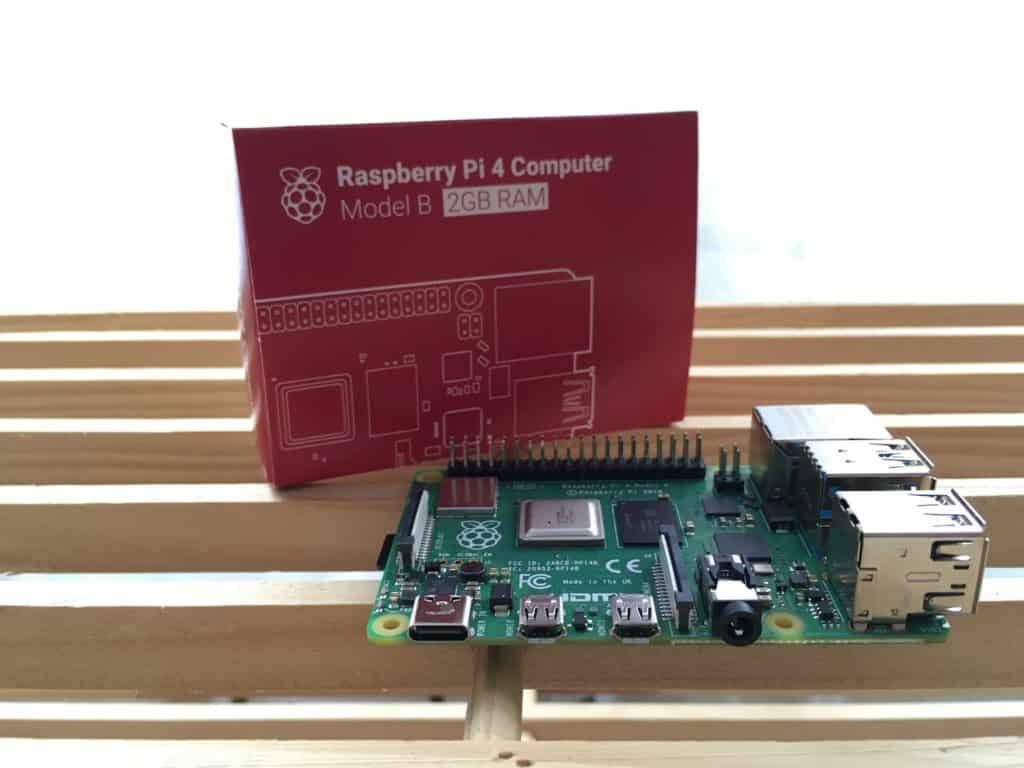
You’ll of course need to make sure you have a Raspberry Pi (Preferably a Raspberry Pi 4, but at least a model 2 – the zero and original Raspberry Pi are not supported) and an SD card on hand, as well as a monitor, mouse, and keyboard.
You will also need a computer with an SD card slot and an internet connection so that you can download and install Ubuntu MATE.
Download Requirements
You’ll need to download a few things before you get started:
Balena Etcher
Balena Etcher is a great tool for writing images (see further on for an explanation of what an image is in this context) – download it from:
Simply click on the download button for your platform.
An image is simply a file containing a copy of a complete disk – think of it like a zip file – when it’s zipped, it’s one file, when it’s unzipped, it’s many files – writing the image to the SD card extracts the contents of the image to the card.

Ubuntu MATE Disk Image
Next, you’ll need the Ubuntu MATE installer:
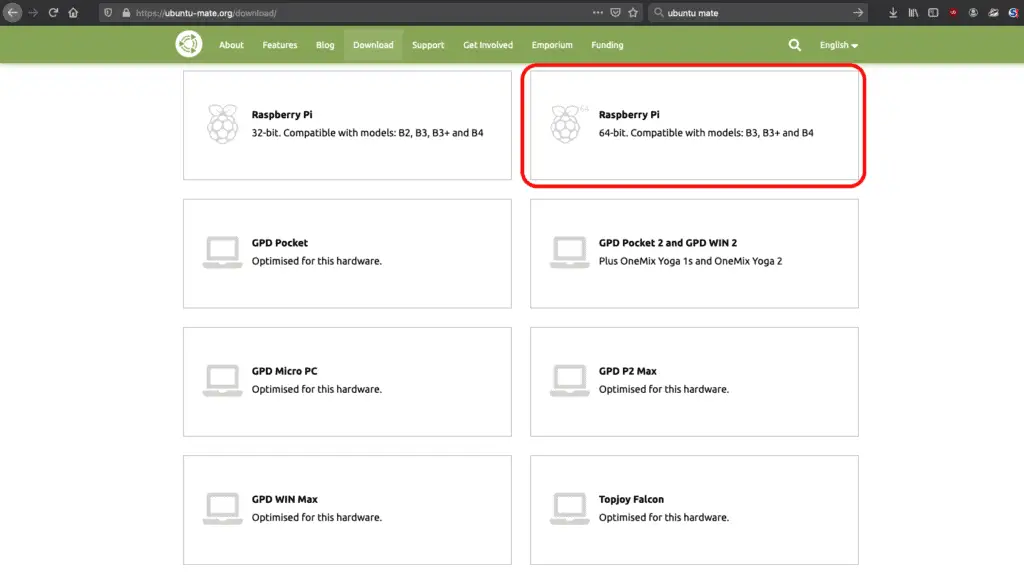
https://ubuntu-mate.org/download/
Follow the link for Raspberry Pi – 64 Bit, then click the Download button.
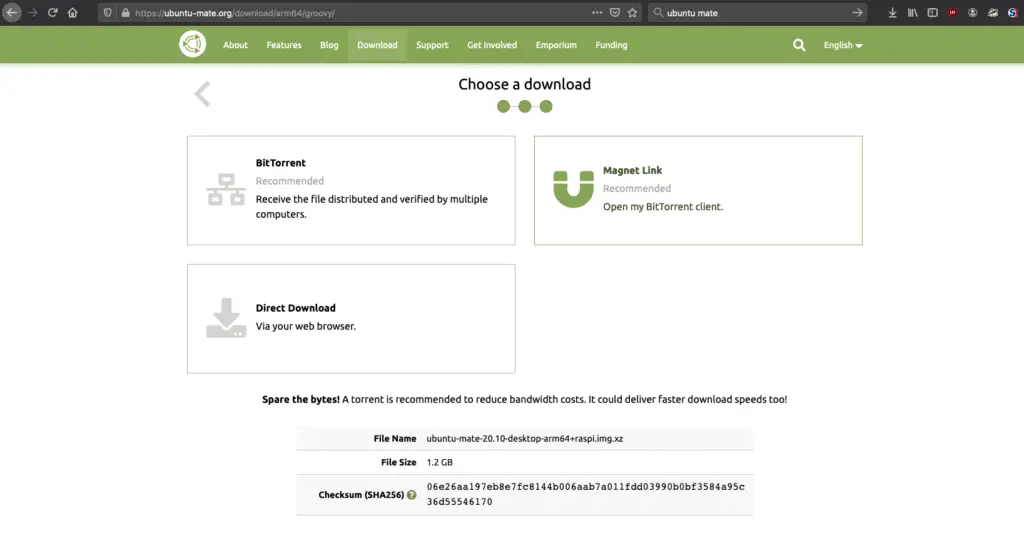
We’ve opted for the 20.10 Groovy Gorilla release so that we’ve got all of the latest features. If you plan on using your Pi for something mission-critical, you might want to consider the 20.04 LTS release.
LTS stands for Long Term Support, and are more stable releases that will receive updates for longer than interim releases, at the cost of not always having the latest versions of packages available
Finally, click the Direct Download link to get your copy of the Ubuntu Mate operating system.
Setting up your SD Card With the Ubuntu MATE Image
Now for the real work – writing the system image for Ubuntu MATE to your SD card so that it can be used to boot your Raspberry Pi.
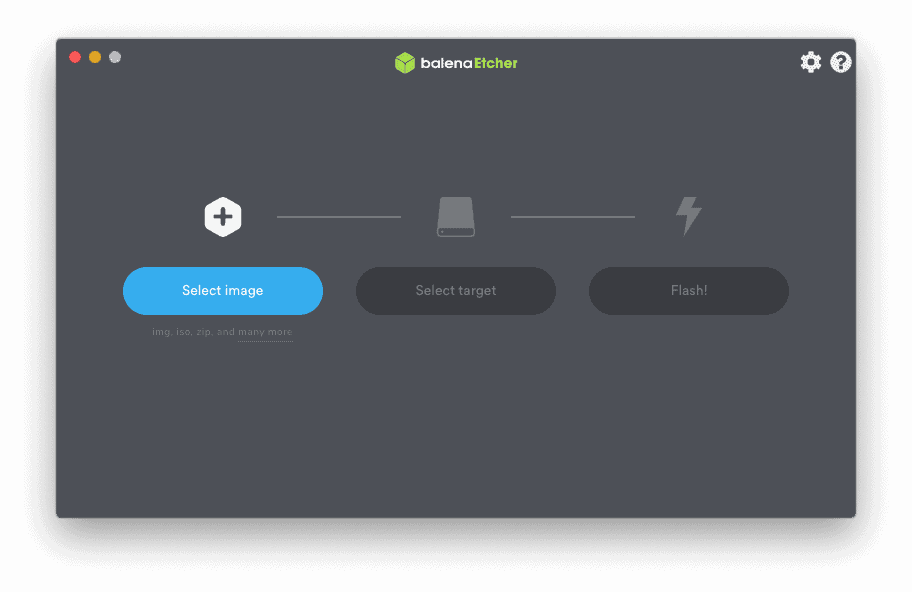
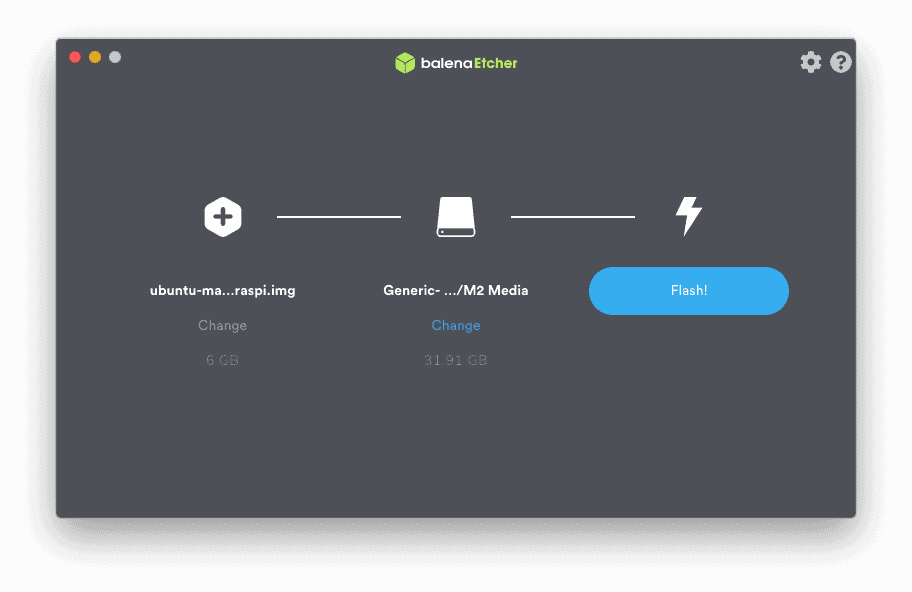
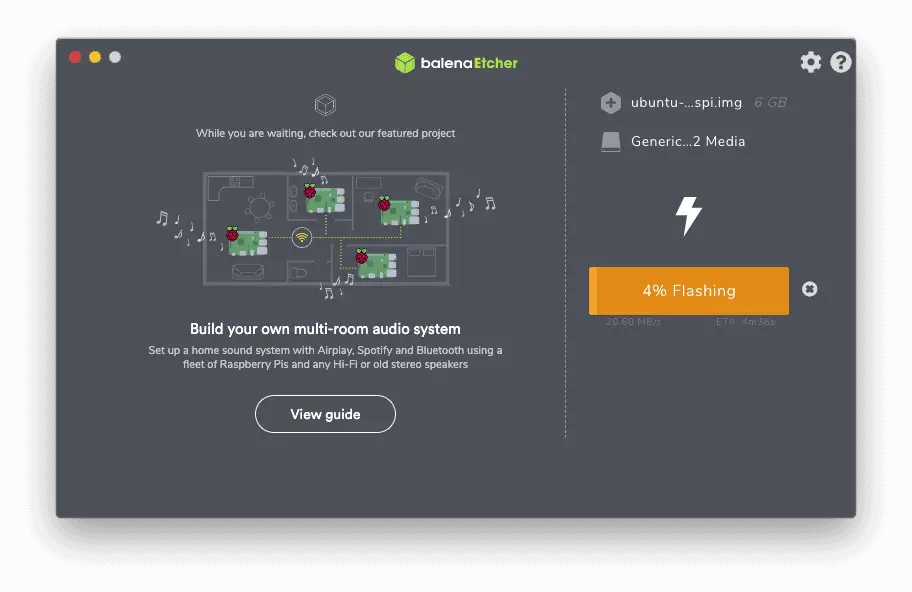
Open Balena Etcher and Select the Downloaded Ubuntu MATE Image
Installing and Configuring Ubuntu MATE on your Pi
With that done, your SD card now has a bootable copy of Ubuntu MATE on it. Next up we get it configured and ready to use.
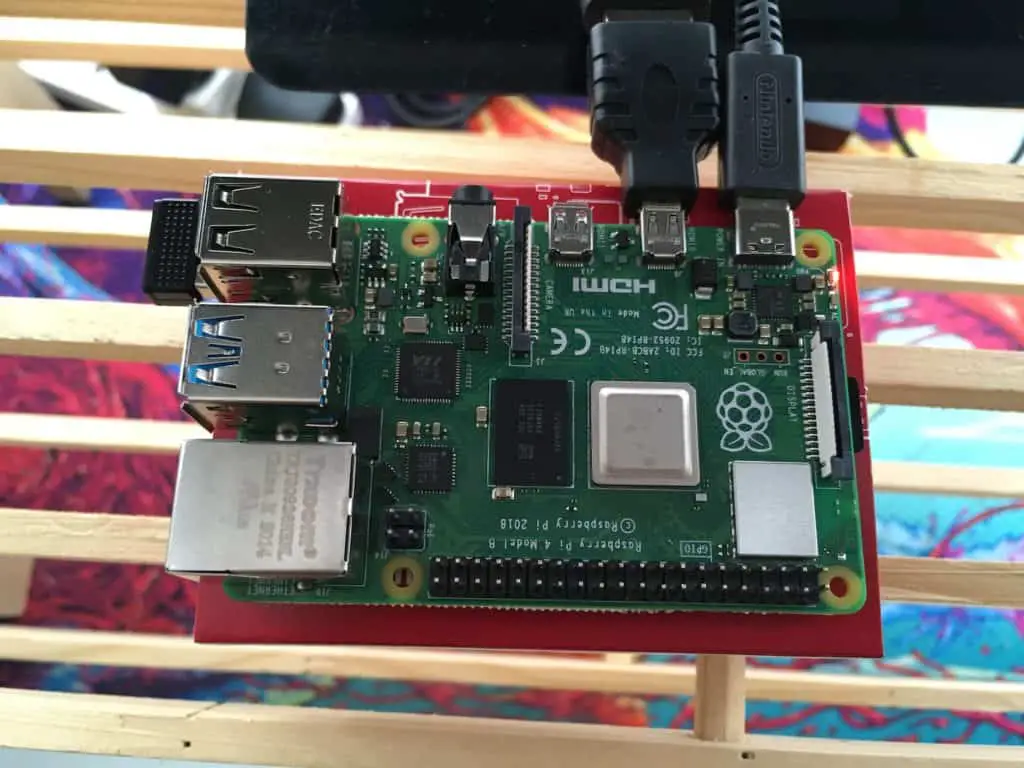
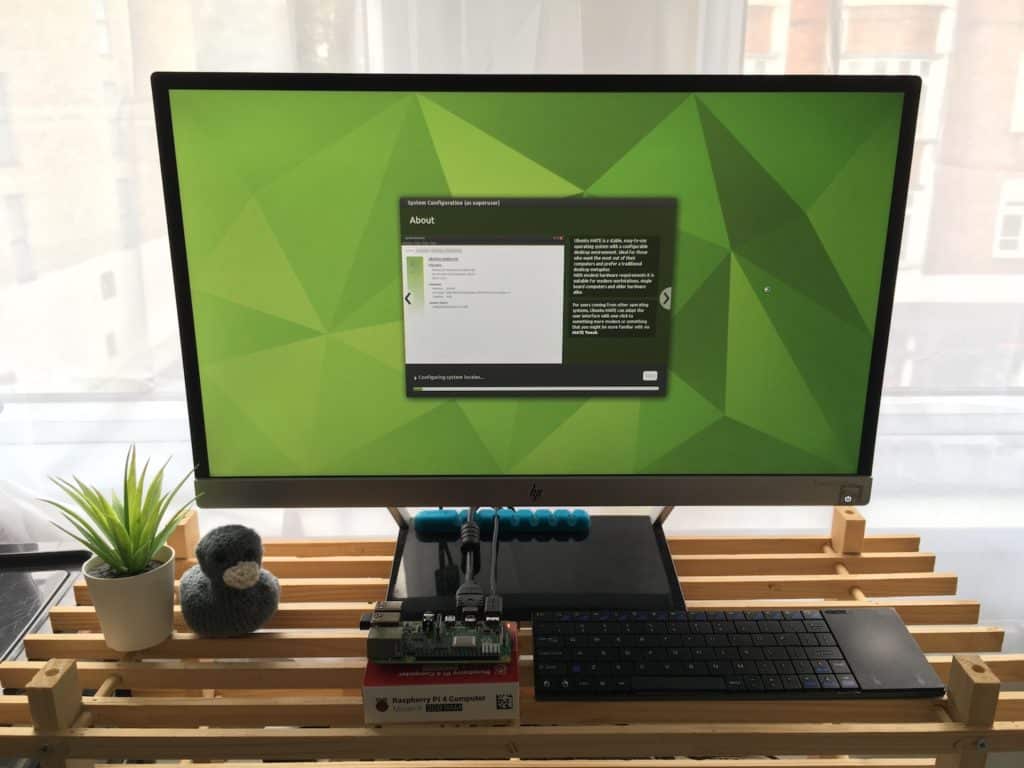
Here’s our Pi with SD card, monitor, power, and keyboard/mouse dongle, ready to go. A case is definitely recommended, but ours stays caseless for tinkering purposes.
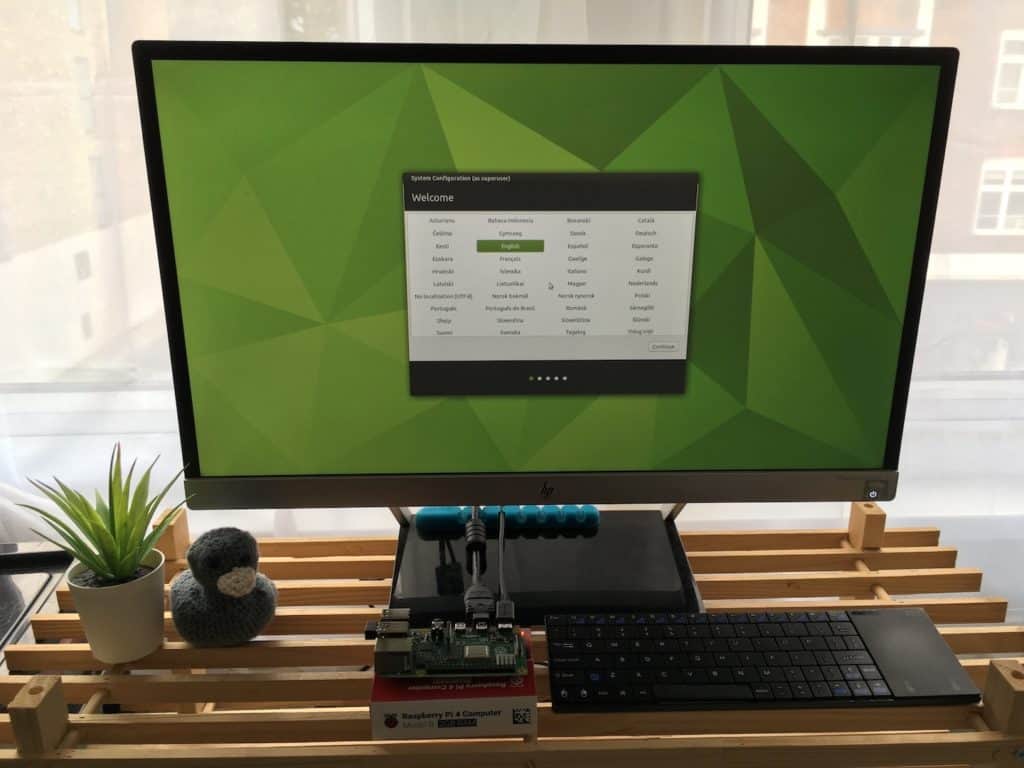
Power on your Pi and you’ll be presented with the Ubuntu MATE configuration screen. That was easy!
If you get a blank screen, make sure that your SD card is fully inserted. Raspberry Pi’s don’t display anything at all unless there is a valid boot device present.
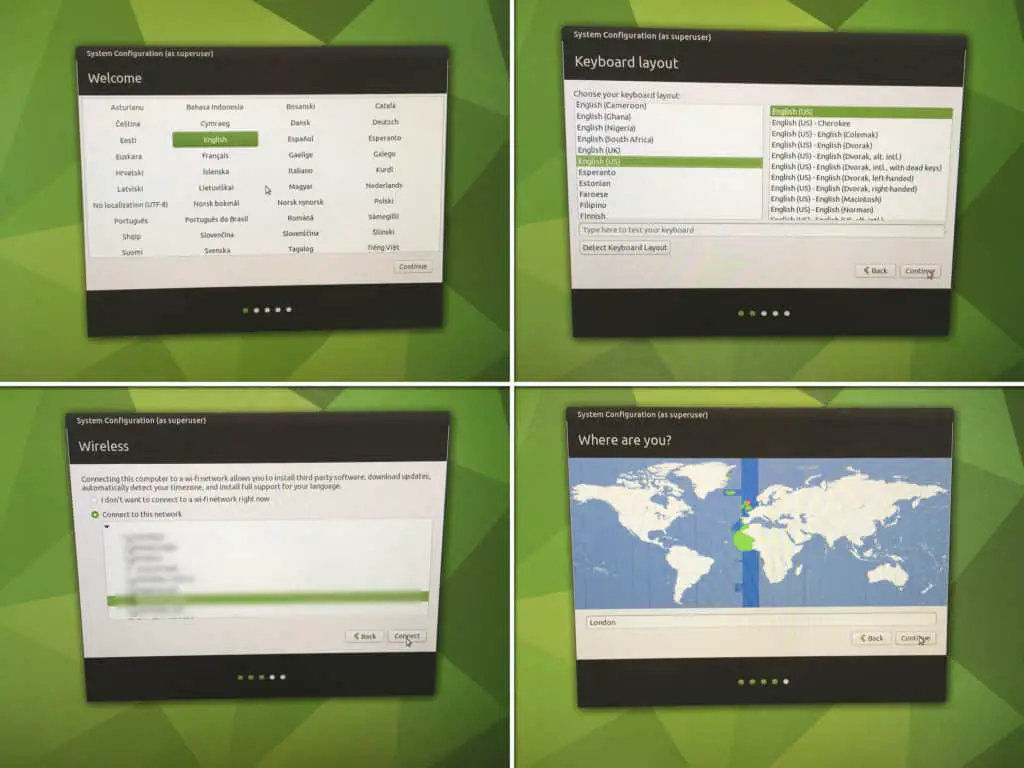
Bounce through the configuration steps – setting your language and keyboard layout, and timezone, it’s all self-explanatory.
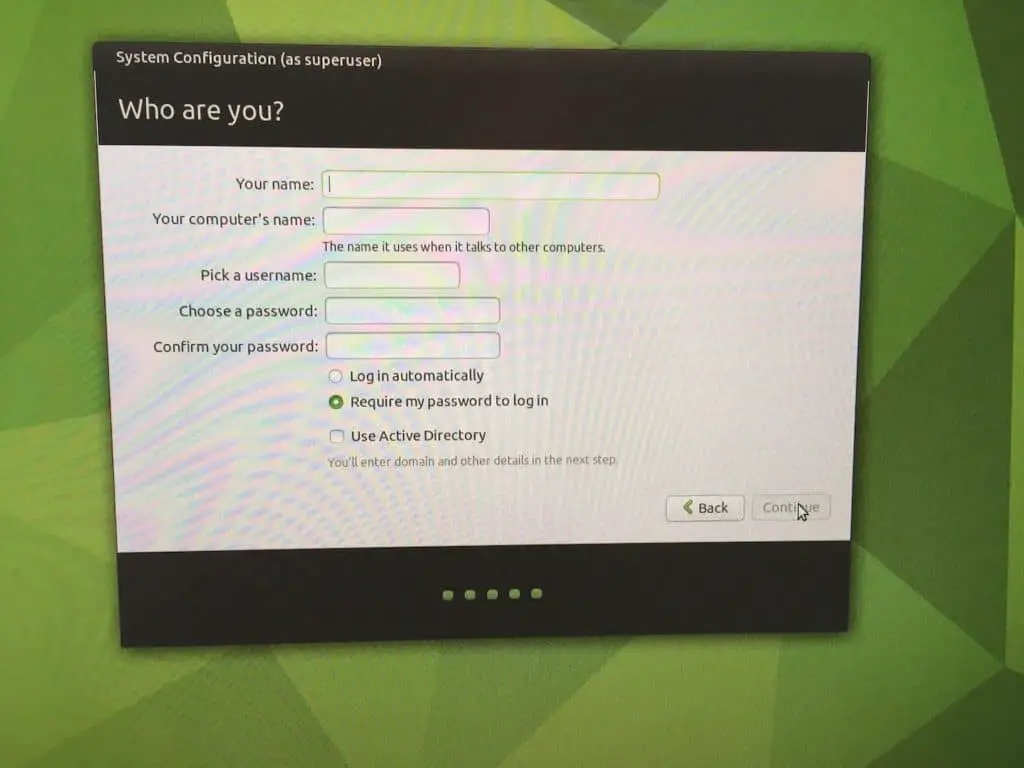
The final step in the setup process is to set your name, computer name, and login details.
Don’t worry about the ‘Active Directory’ setting – this is for logging in to corporate networks based on Windows infrastructure and we don’t pay attention to that nonsense at LinuxScrew.
That’s the configuration done. The installer will now set things up and show some informational text while it does so. You can pace around the room again, this might take a minute.
When it’s done your Raspberry Pi will automatically reboot…
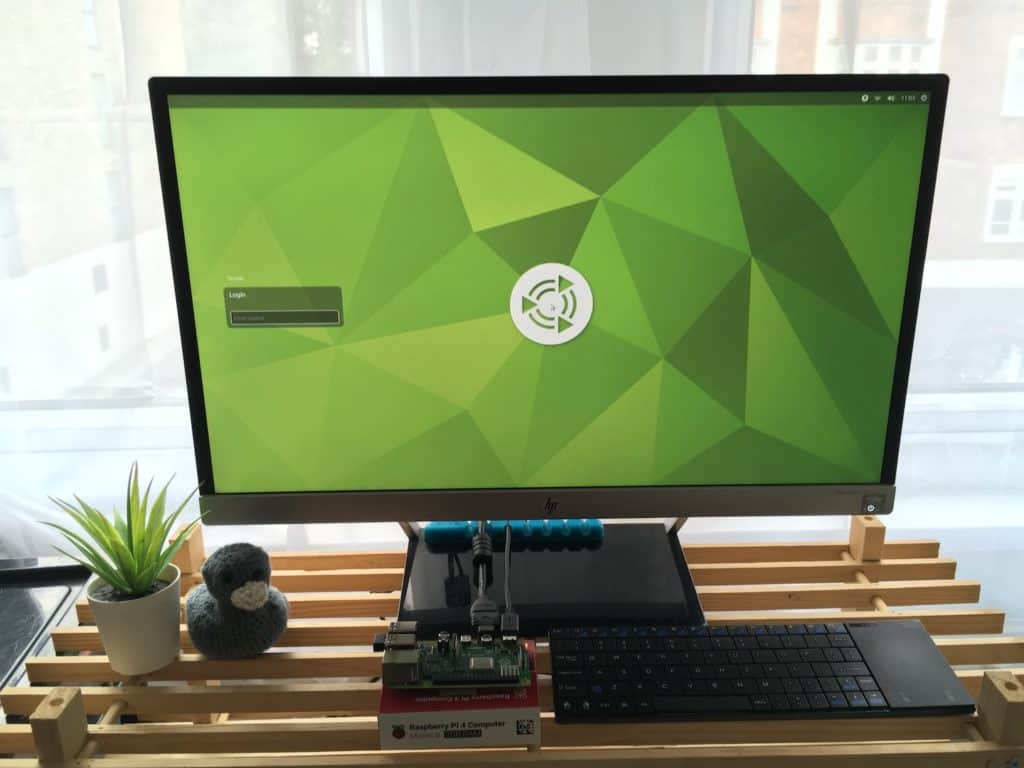
…And you’ll be presented with the login screen. Your Raspberry Pi is ready to rock!
Enter the user name and password details you provided during the configuration process to access the system.
Conclusion
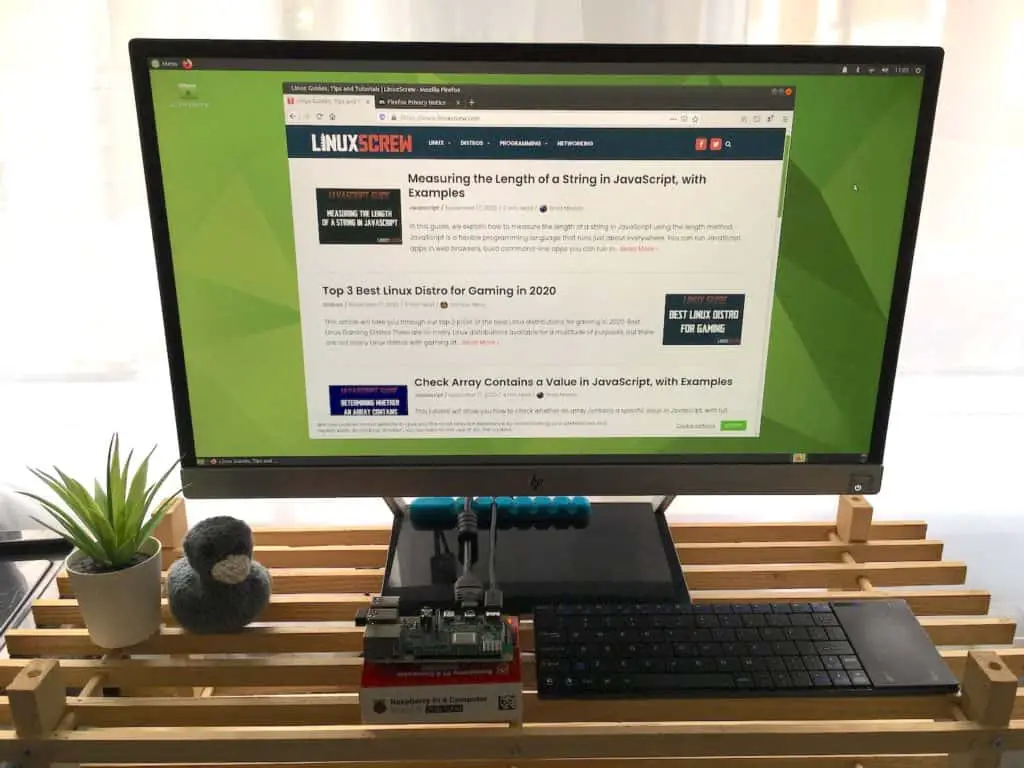
That’s it! Ubuntu MATE is ready to go and already includes a web browser, an email client, office, and productivity software – everything you need for a full desktop experience.
Remember – you aren’t limited to boring desktop office tasks – LinuxScrew is rolling out a bunch of Raspberry Pi-based projects from hosting your own web apps to building your own gadgets – stay tuned for more!


